This upload method (on the right) is appropriate for all products offered by ROE, excluding All-on-X, photogrammetry/grammetry, and Bespoke premium full-arch finals. This includes:
Crowns, implant crowns, and Crown & Bridge
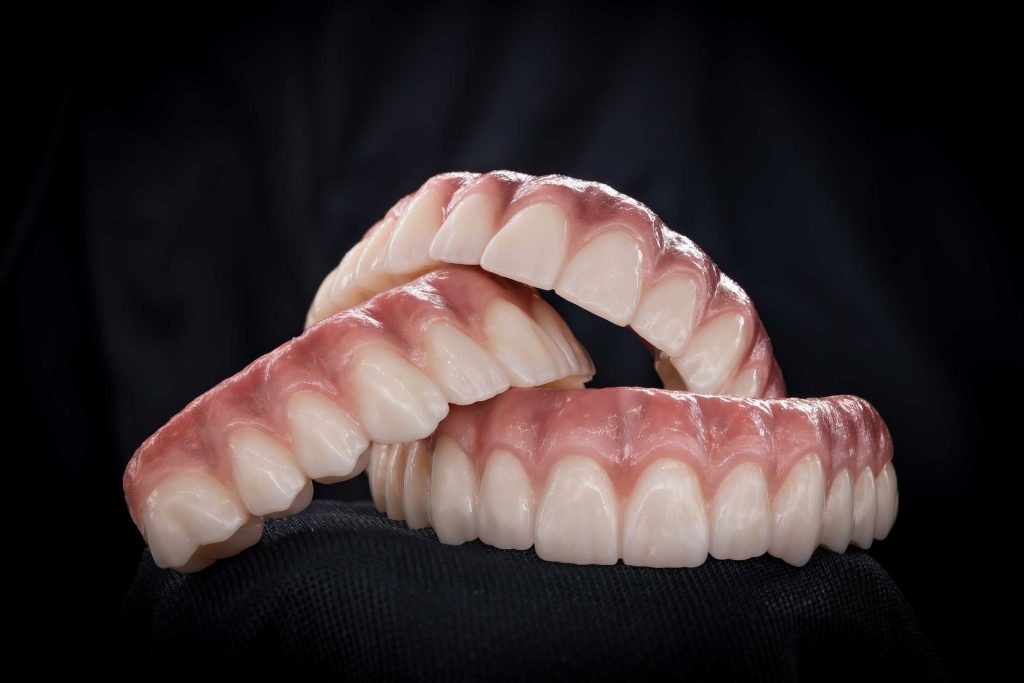
All Dentures - digital vs traditional, full vs partial, flexible vs hybrid
Splints, guards, mouthguards & miniComfort
Lab manufactured surgical guides: bone-, tooth-, or tissue-supported
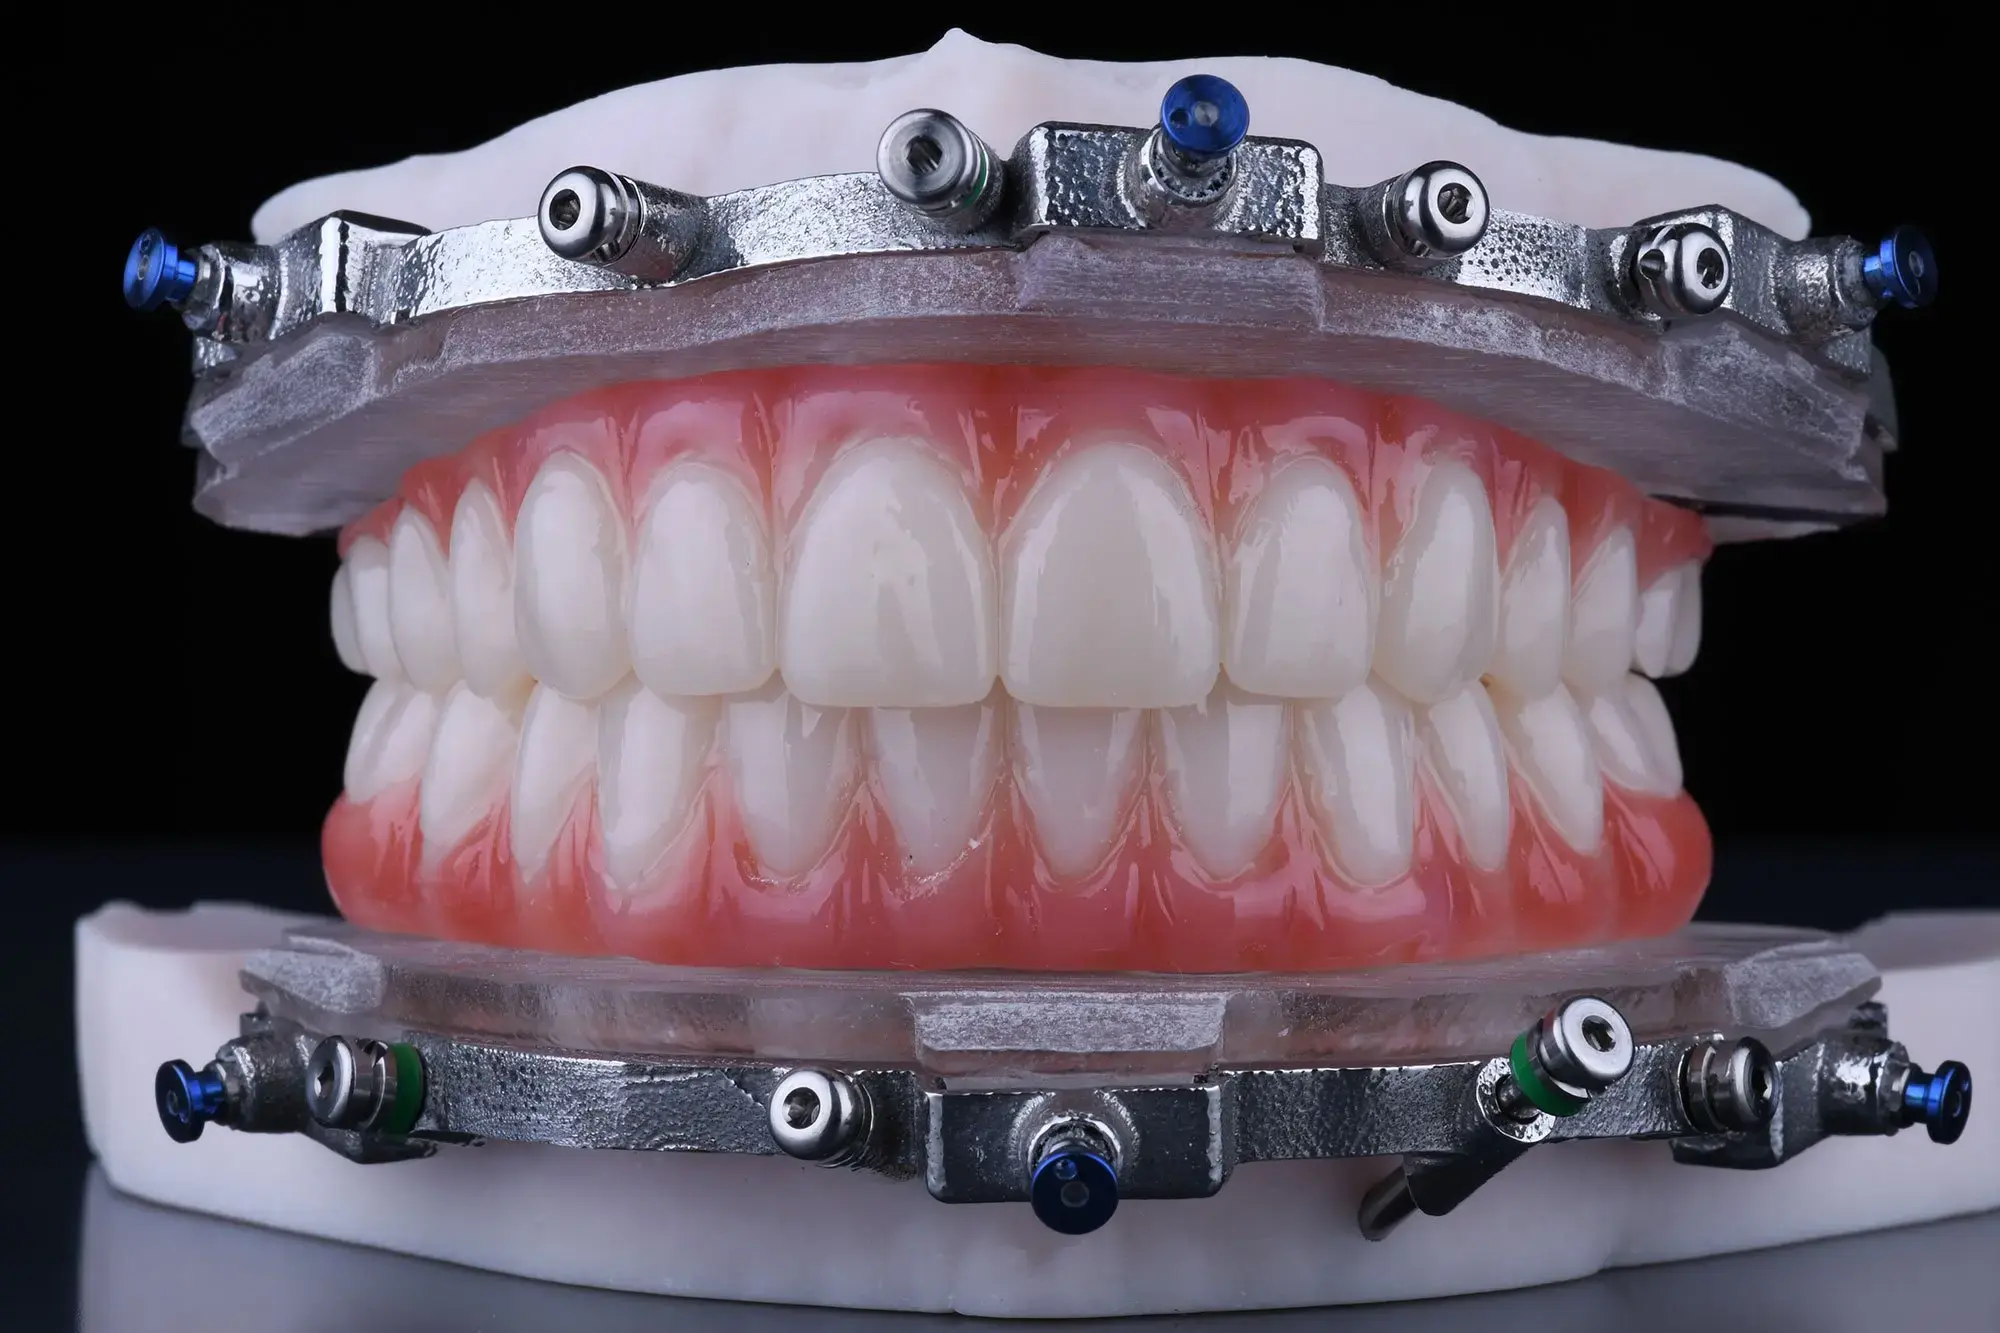
Full arch fixed and removable products
Othodontic appliances and retainers
Below are the web-based Rx forms for our all-on-x surgical options, our photogrammetry/grammetry design services, and Bespoke full arch finals.
Click on the IOS names below to learn how to connect your IOS to ROE.
3M Tru Definition
3shape Trios
Carestream
Cerec
E4D Planmeca Emerald
iTero
Medit
PlanScan (E4D)
3M Tru Definition
How to transfer your 3M files to ROE
Call 3M™ support at 800-634-2249, select option 3
Request support to addROE Dental Labin yourscanner
3M™ will then confirm with ROE Dental Laboratory and add the connection remotely
How to export .STL file(s)
Access the STL file in your office by first logging into the 3M™ Connection Center web portal. Access to Connection Center is obtained by contacting the Customer Care Center at 1-800-634-2249, option 3.
Select the appropriate patient case and click the STL file package to download.
Click the Download link.
We recommend that you rename the file(s) to include the patient’s name and save them in an easily accessible file location.
Press Configure Communicate button on the Lab Connection page to open Configure Communicate window. Press Add labbutton to load 3Shape Communicate web site.
Press the Connections menu item at the top to load the Connected Sites page. Press Add Connection button to open Connect to other Dental Clinics and Labspage. Fill in ROE Dental Lab (TRIOS@roedentallab.com) and pressFindbutton.
Select ROE, click Connect and then Close. An email will be sent to us indicating your wish to connect. We recommend you also call us (800.228.6663) to let us know you want to connect.
ROE will accept your connection and you will receive a confirmation email from 3Shape.
Once connected your system will automatically check for order templates and will download them to your TRIOS system.
How to export .STL file(s)
Open the scan/file in OrthoAnalyzer.
Click Export Model As.
A popup window will appear – click Browse if you would like to choose a different file location. You can uncheck the upper or lower if you only want to export one arch.
Click Save.
We recommend you rename the file to include the patient’s name.
Fabricate:Fixed, immediate dentures, splints, implant restorations, GuidedSMILE, SureGuides, and some partials and flipper.
Check the box on the bottom left forROE Dental Lab
Click ADD to complete the registration
When sending cases, selectROE Dental Lab
How to export .STL file(s)
Set up a case in CEREC, Sirona Connect orOrthoSoftware. Capture the images, and advance to the point where the buccal bite is articulated in the Model Phase.
Click the arrow in the upper left corner of the screen. Select Export.
Highlight the location where you want to save the file on the left hand side of the windows screen.
Use the drop down menu in the ‘Save as Type’ field and select .STL from the list.
We recommend renaming the file to include the patient’s name in the File Name field.
Click Save.
E4D Planmeca Emerald
Select “Find a Lab” option on yourscanner
Search forROE Dental Lab
AddROE Dental Lab
SelectROE Dental Labwhen submitting scans
iTero
How to transfer your iTero files to ROE
Call 800-577-8767
Select Option 1
Request thatROE Dental Labis added to yourscannerand identify our lab using our Lab ID (1544)
OnceROE Dental Labhas been added, restart yourscanner
After connecting to us as a lab, selectROE Dental Labon yourscannerwhen sending files
How to export .STL file(s)
Before starting to scan the patient, make sure you choose the option “icast” or “irecord”. This is important because if you choose the “Invisalign” option, you will not be able to export these files.
Once you have scanned both arches and the bite, the information is stored in “myaligntech.com”
Log into “myaligntech.com”. This will take you to the orders page where your scans are. Look up the patient and click on their ID #. This will take you to the order information page.
Click on “Export” (OrthoCAD 3.5 or higher). Now a study model will pop up and a box that says “OrthoCAD Export”.
Export type: Choose the “Open Shell” option.
Data Format: Choose “Two files” (arches oriented in occlusion).
Folder Name: Change this number to the last name of your patient so when you save it, you know who it is!
Once you hit export, a window should pop up that says “model data was exported to c:cadent/export/(patients last name).
Medit
Visithttps://www.meditlink.com/, and log into your account. If you do not currently have an account, click “Don’t have an account? Sign up.”
Click on “administrator” under whichever category fits your business
Fill in your information and check your email for the verification email/instructions to download the software
Once completed, click “Add New Partner” and search for “ROE Dental Lab” to begin sending cases to our lab
PlanScan (E4D)
How to export .STL file(s)?
Because of the open architecture of PlanScan Systems, your digital impression can be sent directly to ROE. Save your digital impression files as “.stl” files and email to submit your case digitally.
Press “Export and Send Buccal Bite Case (.stl)” icon.
Receive a FREE Welcome Packet! Interested in partering with us? Let us send you a Welcome Packet which includes everything you need to send your first case.
If you're a new doctor, please contact our customer service team before creating a portal account. Our team will set up your initial account and send you a link to complete the portal setup. This ensures proper configuration and prevents duplicate accounts.
What should I expect during the onboarding process?
The onboarding process typically includes:
Initial verification of your practice information
An onboarding email containing ACH enrollment forms, lab preference forms, and communication forms
Account creation by customer service
A second email with a link to set up your portal username and password
Portal access for submitting cases, uploading files, checking case status, and tracking deliveries
I forgot my login credentials. Should I create a new account?
No, please don't create a new account. Contact customer service, and we can easily help you recover your username or reset your password. Creating multiple accounts can cause complications with case tracking and billing.
How do I update my practice address?
Address changes cannot be made through the portal and must go through customer service. This is because address changes may affect shipping routes, require coordination with accounting, and need updates across multiple systems simultaneously.
What information is required when submitting a prescription (Rx)?
All methods are acceptable, however the easiest way is to submit a case online.
How can I view my cases that are on hold?
On-hold cases can be viewed in two ways:
Through daily overview emails (if you've subscribed to this notification)
Directly through the portal
How do I set up email notifications for different staff members?
During onboarding, you'll fill out communication preference forms specifying which email addresses should receive different types of notifications. For example:
Accounting staff can receive only invoices
Clinical staff can receive case updates
Multiple people can receive the same notifications
How accurate are the delivery dates shown in the portal?
Delivery dates in your account portal are rough estimates, however we recommend using our interactive Case Delivery Calculator for the most accurate timeframes.
Who should I contact for technical questions versus general inquiries?
For in-depth case or technical discussions, your dedicated CSS/TSS (Customer/Technical Support Specialists) will be able to provide you with the highest level of expertise. Please contact customer service for account management, basic pricing, order processing, and shipment coordination.
How do I find out who my assigned technician is?
Currently, you need to call customer service to learn your assigned technical representative. We're working to add this information to the portal for easier access.
How can I minimize case-by-case communications from ROE?
Complete your preference forms thoroughly during onboarding. These forms are handled by the CSS team and help set your default preferences, reducing the need for frequent communications about individual cases.
How do I schedule a UPS pickup?
You can schedule pickups through:
The portal
Calling customer service
Emailing customer service
Using the website chat feature
Many doctors find it easiest to have customer service handle pickup scheduling on their behalf.