Skip to the main content.

Dental Photogrammetry

If you are using iCAM, PIC, Shining3D Elite, Micron Mapper, Grammie, or any Photogrammetry acquisition system let’s work together.

There is no easier method to ordering full-arch. ROE offers coping-free, model-free, articulation-free FP1-FP3 long-term temporaries and final full zirconia restorations using cutting-edge technology.


How do you get started?  Click the orange ' Submit a Photogrammetry case' button to the right

New Photogrammetric Approach to Bone Reduction

Freehand surgery using photogrammetry technology can be aided with the use of our bone reduction guides. This CBCT planned product is designed from a tooth setup and a basic implant positioning work-up.

The goal is to ensure adequate bone reduction for freehand surgery. When ordering request our product called CombiGuide Lite for plastic or regular CombiGuide if you would like a metal bone reduction base.

Existing Prosthetic

1

Scan Bodies

2

Scan The Teeth

3

Set-Up

4

Printed Try-In

5

Final Zirconia 1

6

Final Zirconia 2

7

Final Zirconia 3

8

Key Benefits

CombiGuide-and-Photogrammetry-1024x576
×
Dental-Photogrammetry-1024x576
×
Fixed-Full-Arch-Options-iCAM-and-Case-Studies
×

Media

Photogrammetry Improved Products

Video Resources

Dental-Photogrammetry-ICam4D-Maxillary-and-Mandibular-All-On-4
×
ICam4D-Collecting-Records-for-a-Single-Arch-Prosthetic
×
Fixed-Full-Arch-Options-iCAM-and-Case-Studies
×
Dental-Photogrammetry-ICam4D-Records-for-a-Double-Arch-Non-Surgical-Case
×
Dental-Photogrammetry-Using-ICam4D-Technology-for-Immediate-Prosthetics
×
Dental-Photogrammetry-ICam4D-Case-Records-for-a-Live-Surgery
×
Photogrammetry-Records-for-Surgical-and-Restorative-Cases
×
The-Dental-Photogrammetry-Digital-Design-and-Printing-Services
×

Downloadable Resources

Workflow Steps for 

Workflow Steps Instructions Images
Step 1 Take the following photos with the patient standing up:
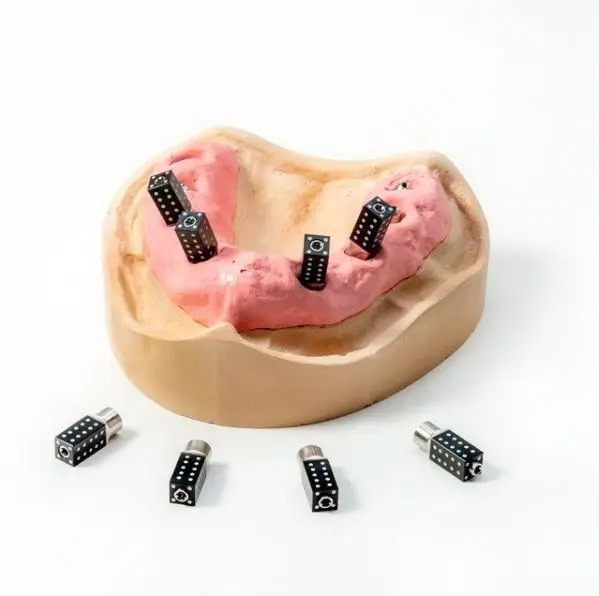
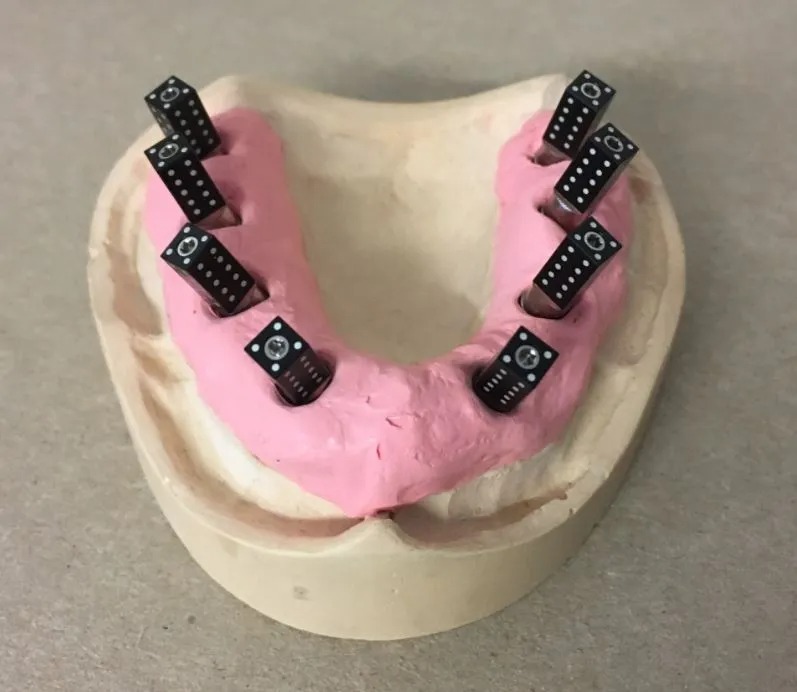
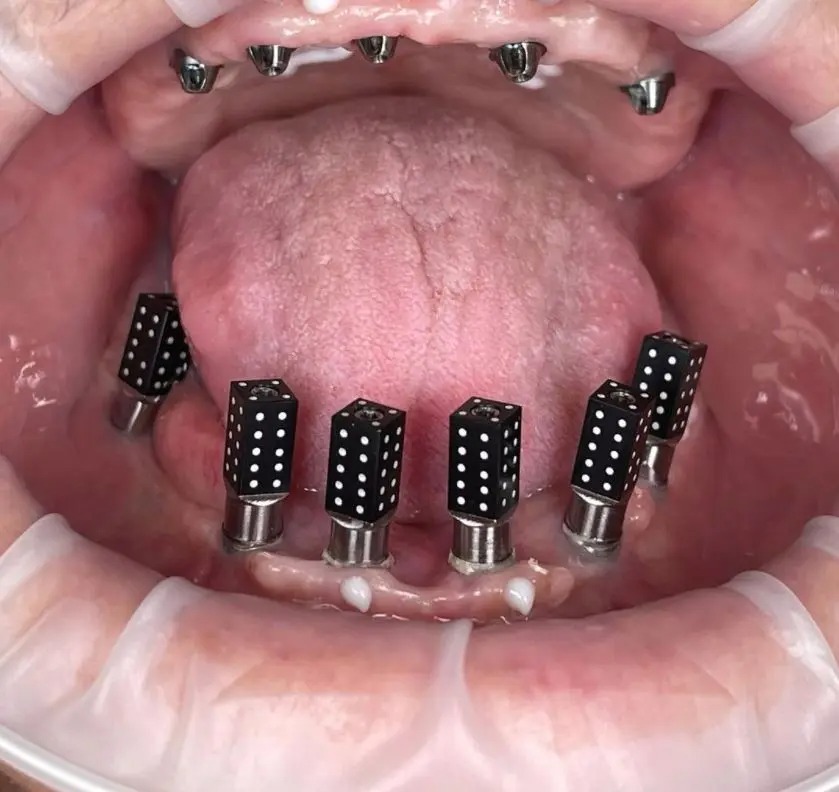
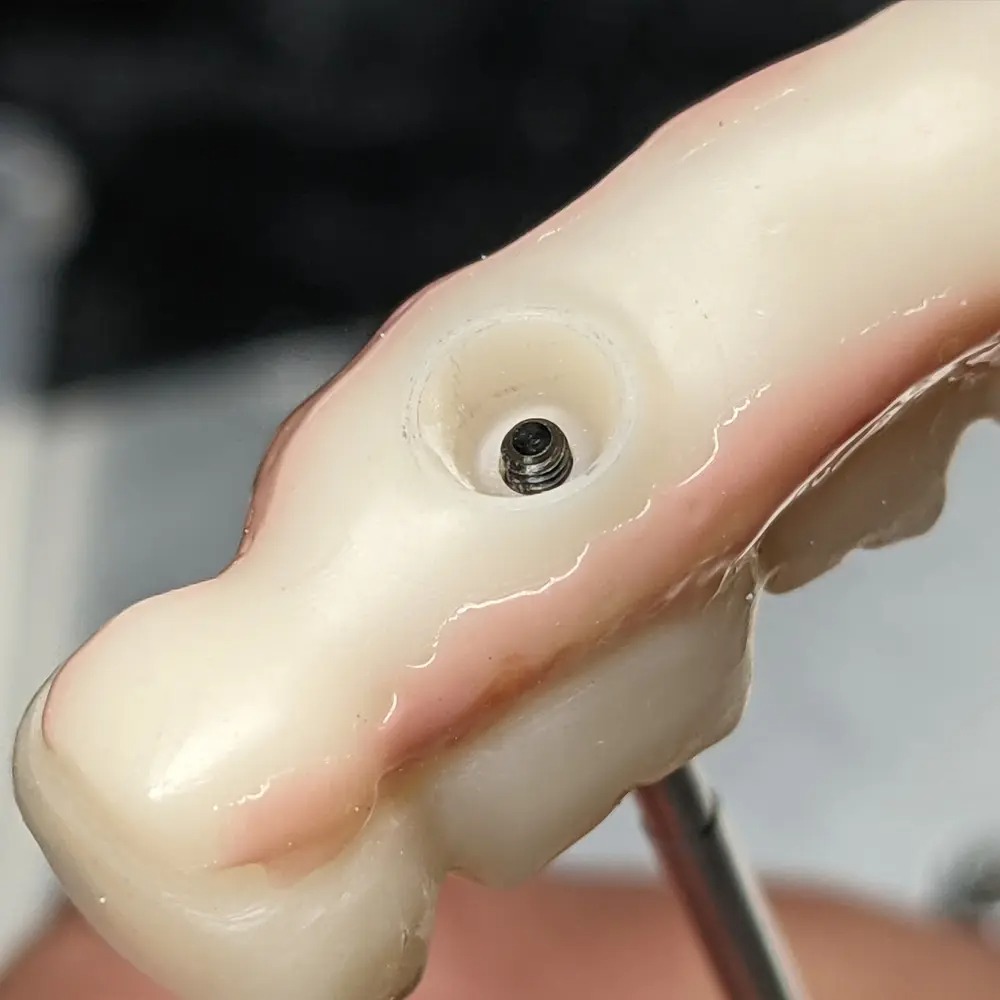
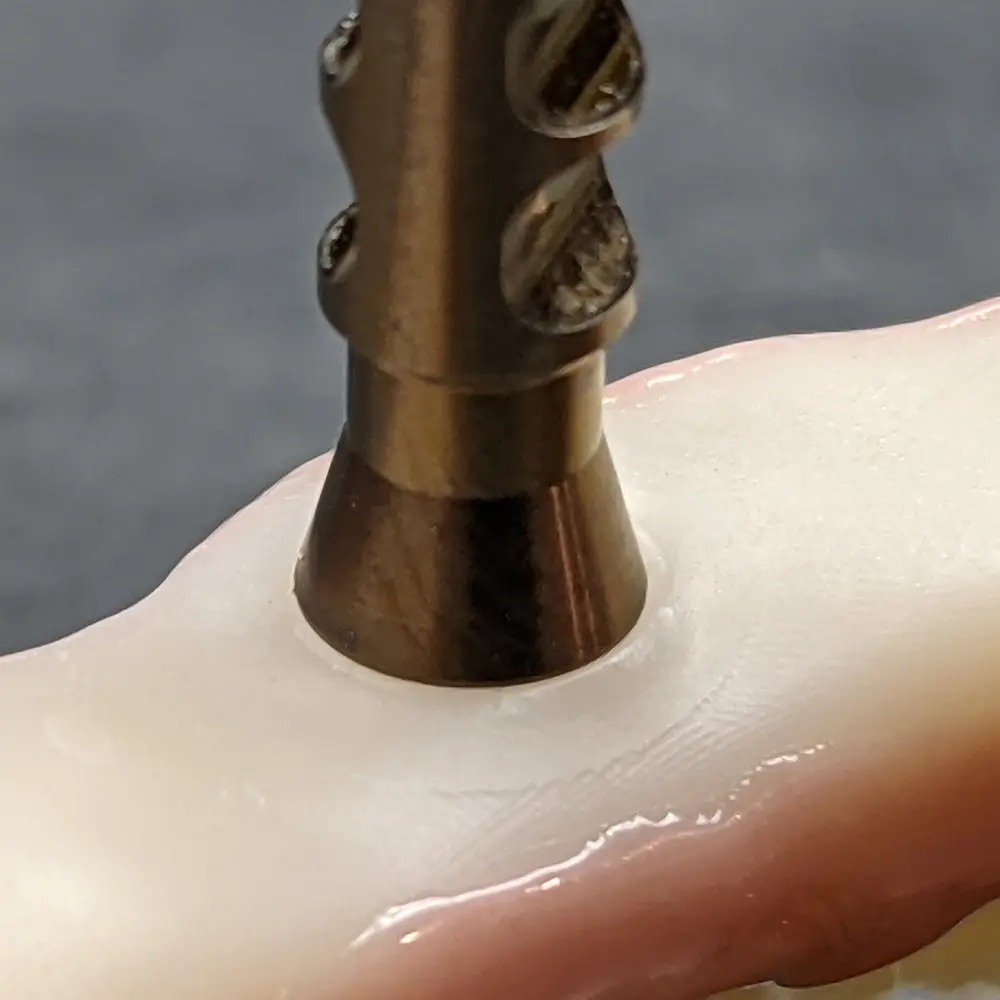
  • Full-face full-smile
  • Full-face exaggerated smile
  • Optional: Full-face profile smile
Step 2 Remove the patient’s denture/prosthesis. Seat the photogrammetry scan bodies passively onto each MUA.
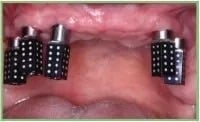
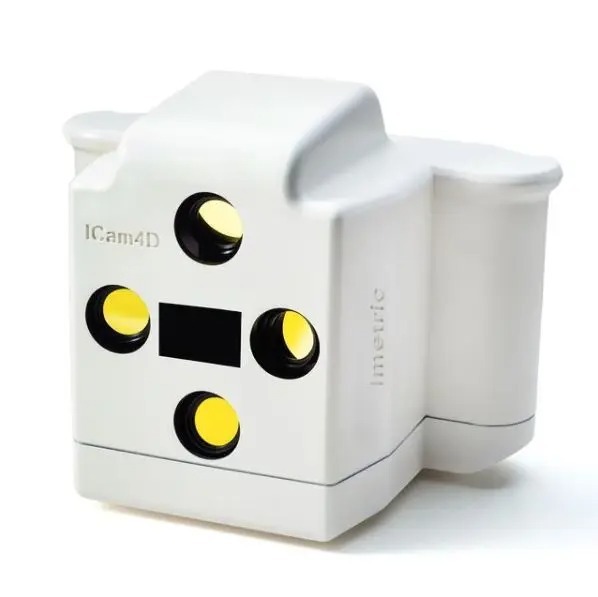
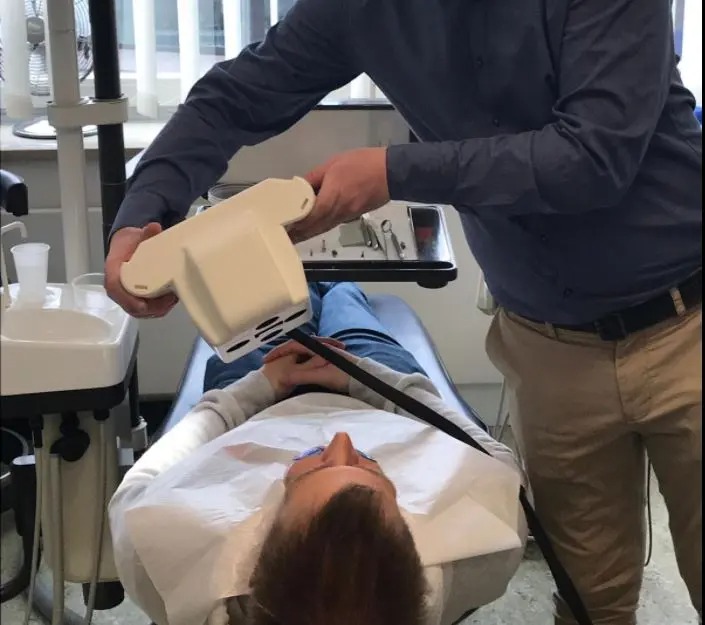
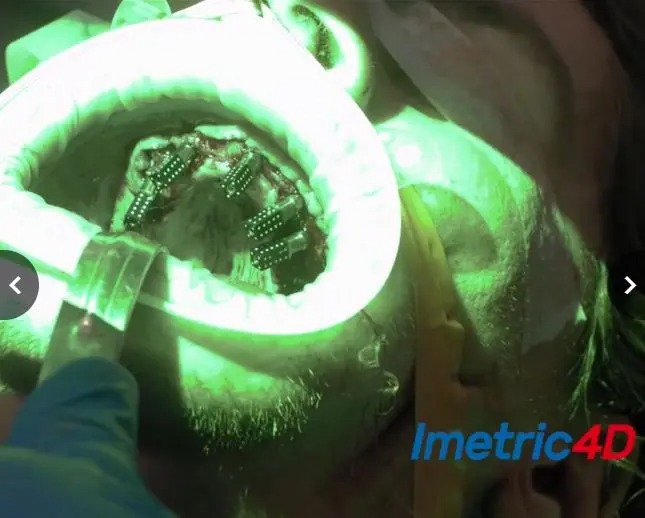
Step 3 Perform the photogrammetry scan.
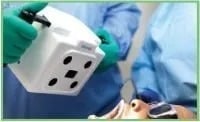
IMPORTANT:
Steps 4-7 are for dentures only. If your patient has a loaded prosthesis, not a denture, go directly to step 8.
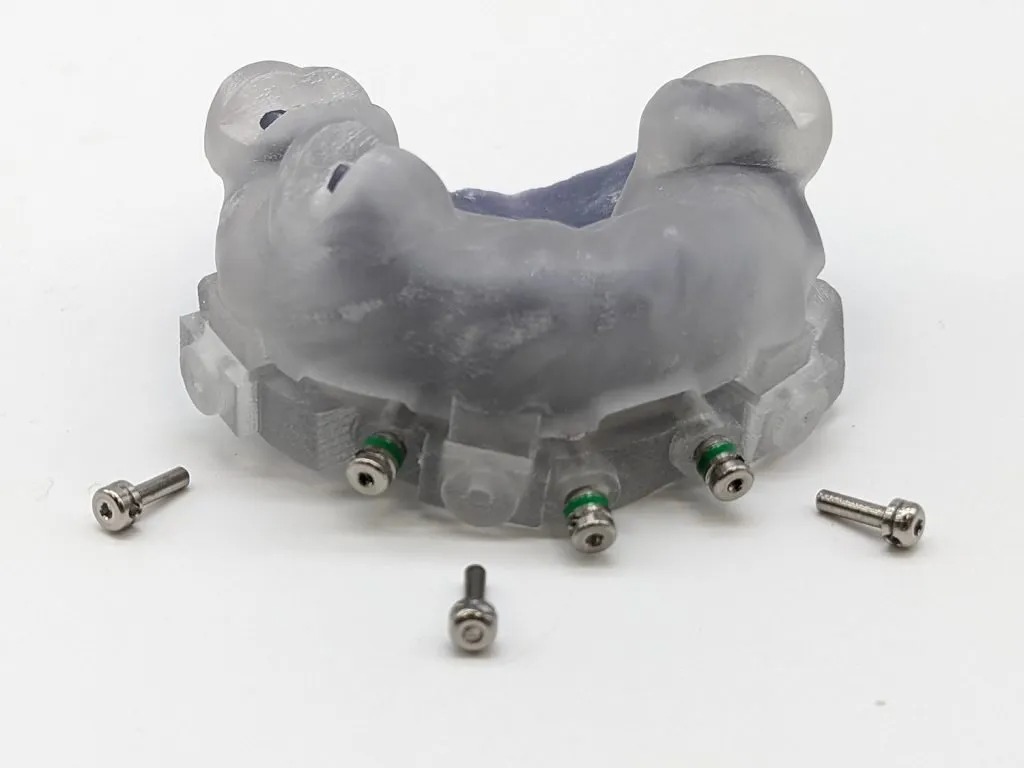
Step 4 Seat approved healing caps onto the MUAs.
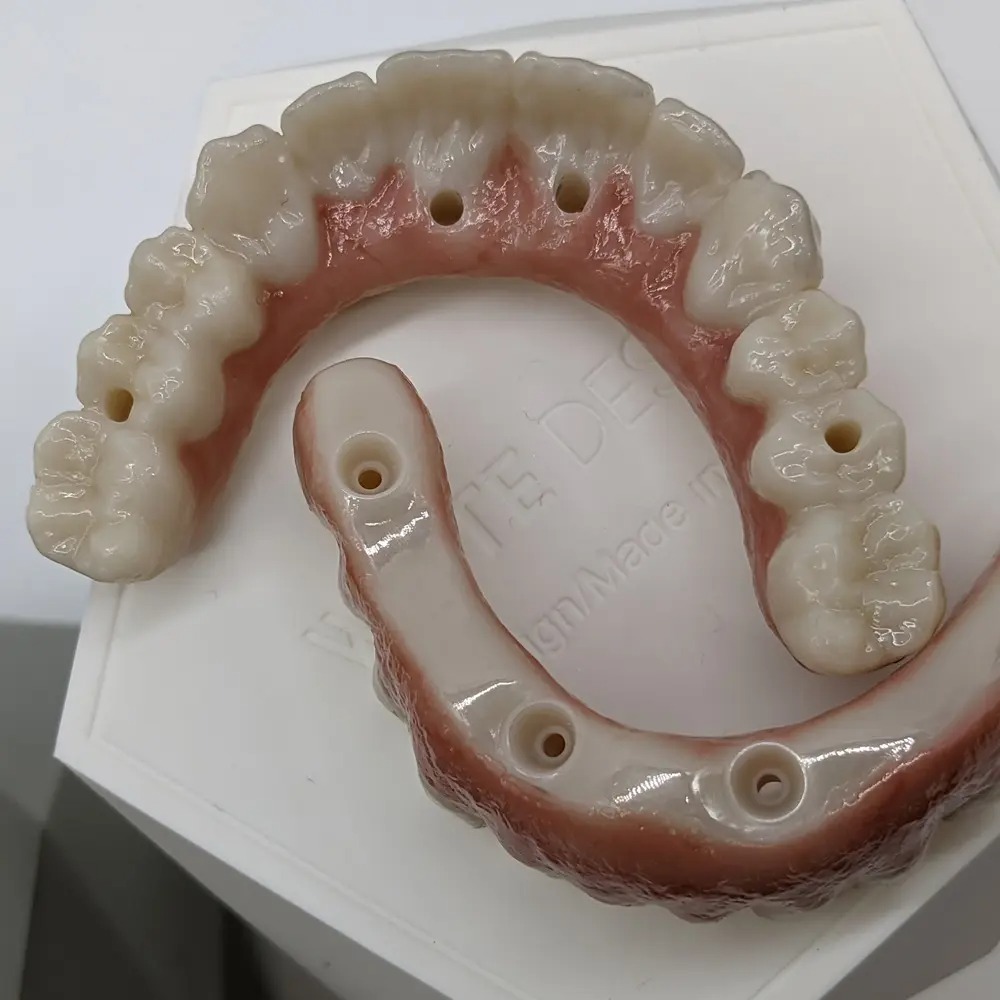
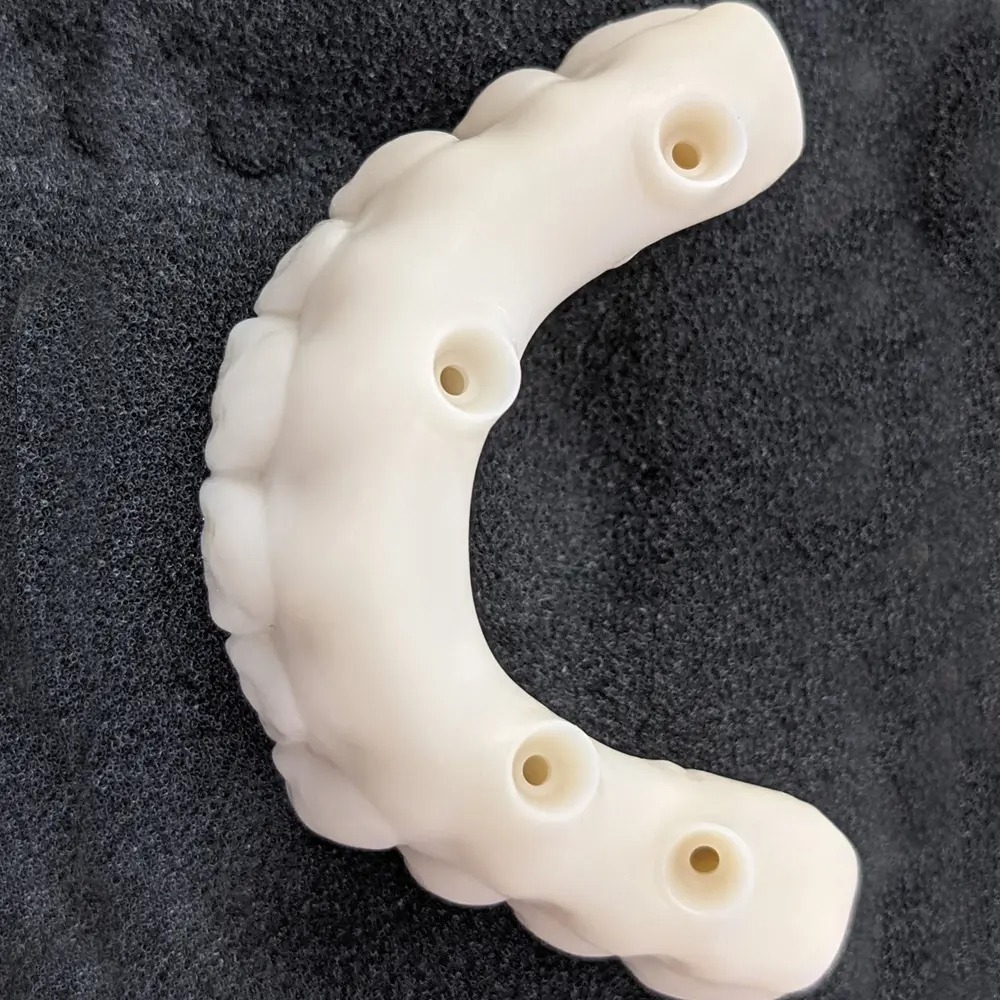
Step 5 Try in the denture and ensure full seat over the healing collars. Adjust the denture as needed to ensure passive seat.
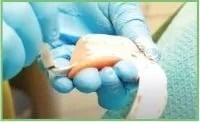
Step 6 Perform a PVS wash (not Blue Mousse) capturing the detail of all of the healing collars, in occlusion. Remove the denture.
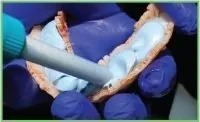
Step 7 Capture a 360° extraoral scan of the denture with the IOS.
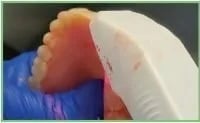
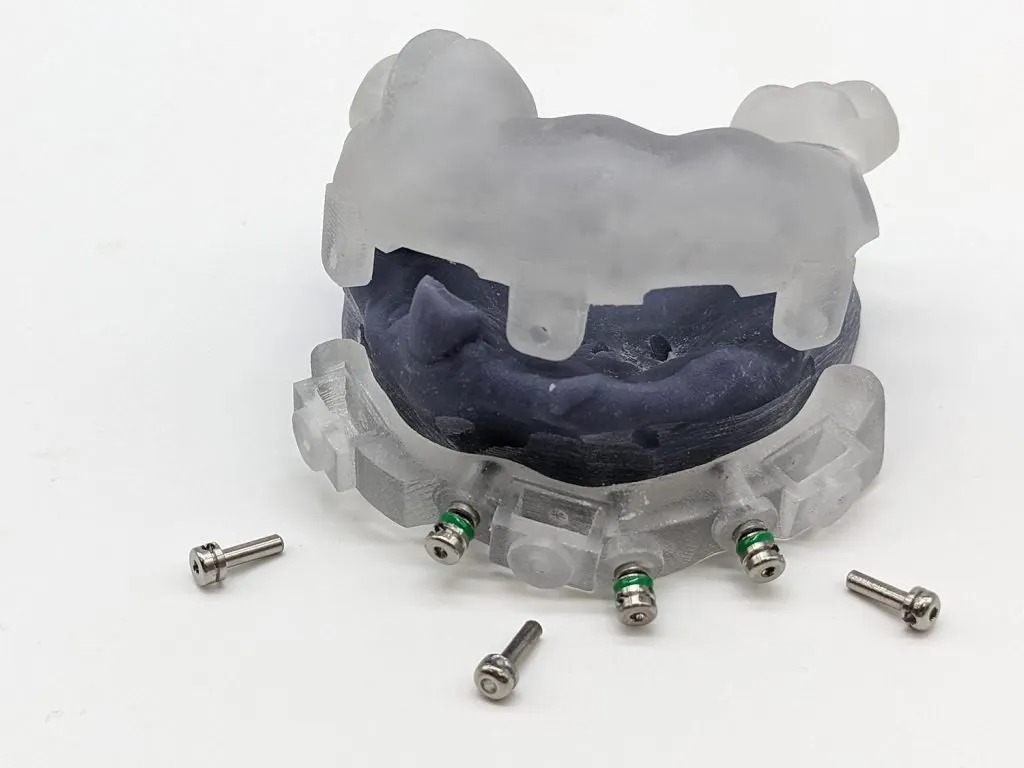
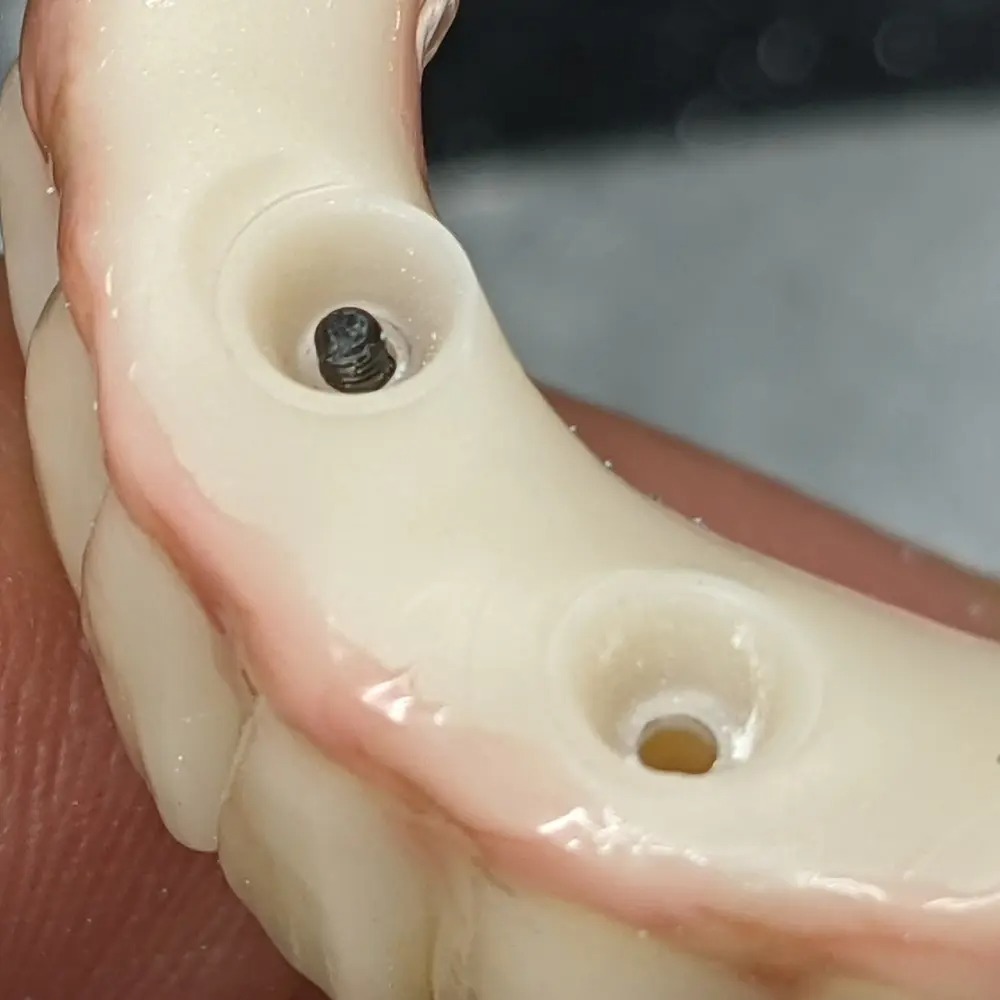
Step 8 Scan the tissue and MUAs with your IOS. Nothing should be seated on the MUAs. A PVS impression is also suitable.
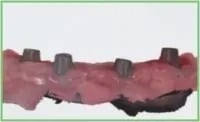
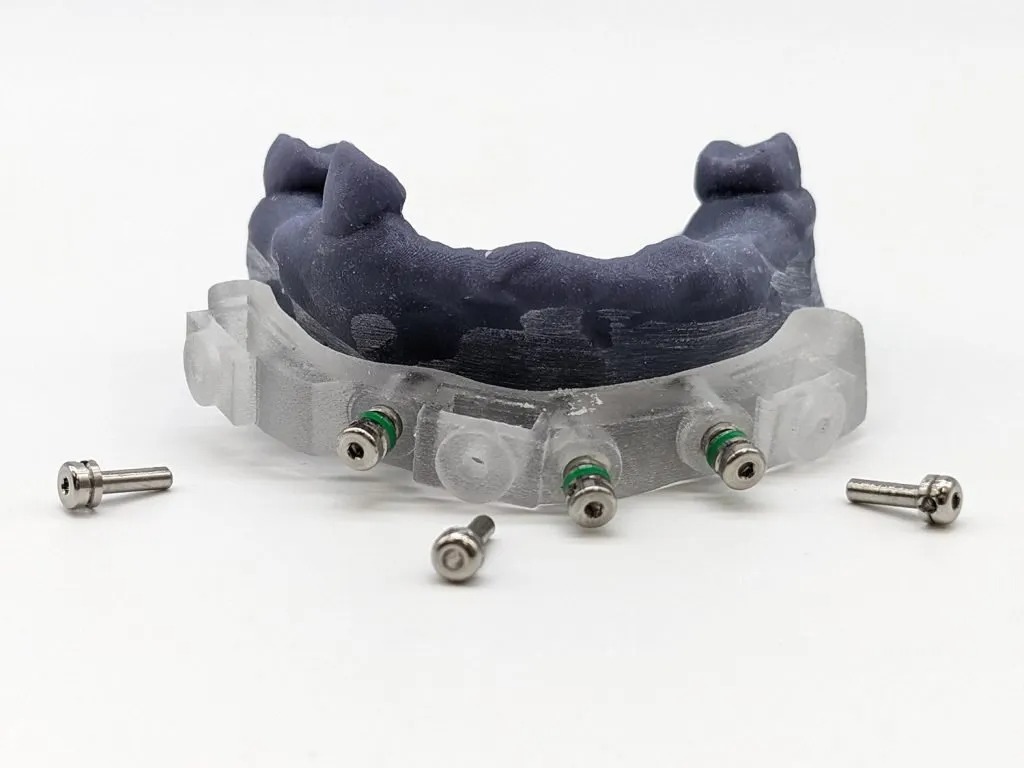
Step 9 Re-seat the denture or prosthesis. Capture the following IOS scans:
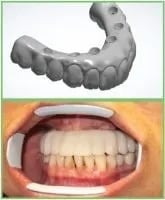
  • Denture only: Teeth and labial flange
  • Opposing
  • Bite
Step 10 Upload all scans to ROE Dental Laboratory.

Next, ROE will fabricate or provide in-office printing files for the Printed Try-In. The Printed Try-In is a 3D-printed prototype of the final prosthesis.

How can we help you today?

Can't find what you're looking for? No problem. Let us help.

 
ROE’s experts are dedicated to elevating your dental practice.
  • Full-service national dental laboratory
  • Comprehensive Certified Dental Laboratory (CDL) services
  • Case planning support from 20+ Certified Dental Technicians
  • Specialists in both fixed, removable, implant and full-arch dentistry
  • Tailored support for all cases, from routine to complex
  • National Association of Dental Laboratories (NADL) member
  • Only FDA-approved materials used
  • All products made in the USA
  • Thousands of free online education materials