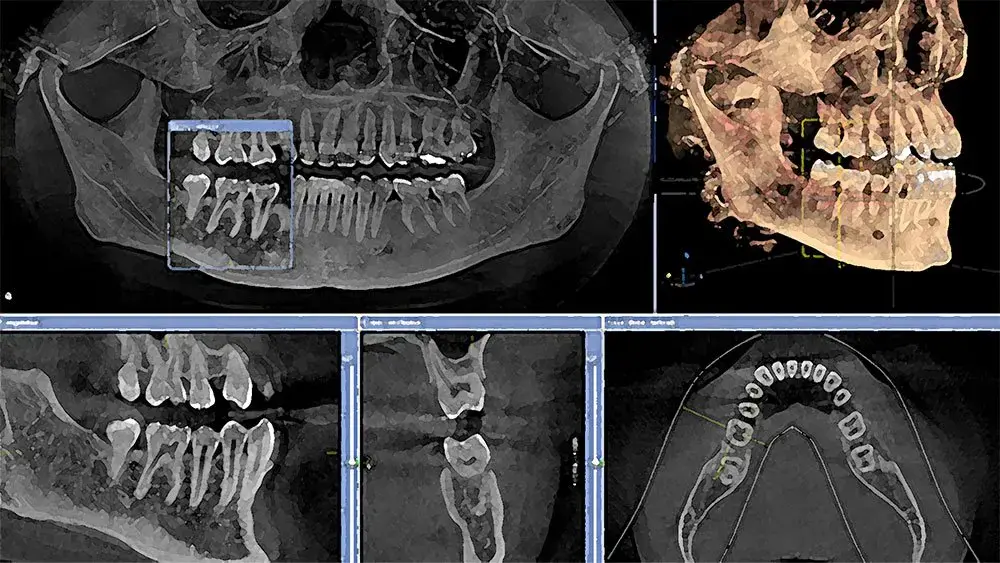
Managing DICOMs
Cone-beam computed tomography (CBCT) technology has revolutionized dental radiographic imaging. This advancement allows dentists to progress seamlessly from patient diagnosis to treatment simulations, making it an invaluable tool for reconstructive surgeries and dental implant procedures. However, mastering this sophisticated technology requires a significant learning investment. This page is designed to help you specifically in relation to:
Effectively capture a dual scan
In this video, we will cover…
- Seating the dentures
- Placing the scan markers
- Scanning the denture in the mouth
- Scanning the denture out of the mouth
Export DICOM from your CBCT
You must export the following to provide DICOM for CT Planning – Folder with uncompressed, multi-file, DICOM, 0.3mm or 0.4mm slices (not all systems allow options. Generally 0.2 and 0.1 results in too many files to upload). Watch the below videos to help export on some popular systems. Steps to export:
- Export into a folder on the desktop (must be a folder with 100+ .dcm files)
- Right-click on the folder, rename the patient’s name
- Right-click again and click “send to compressed zipped folder” for upload
- If uploading scan appliance and patient scan, place both in the same folder and zip
- This is what you will browse for when uploading on our online portal
- Follow the below videos for your system!

Select Your CBCT System
- Aceton
- Carestream
- Dental Studio
- iCat
- Invivo Anatomage
- Invivo5
- Galileos Sidexis XG
- Morita CBCT
- PreXion
- Planmeca ProMax 3D Max
- Planmeca Romexis
- Sidexis 4
- Sirona 3d
- Sirona SL + Sidexis 4 CBCT
- Vatech
Aceton
Carestream
Dental Studio
iCat
Invivo Anatomage
Invivo5
Galileos Sidexis XG
Morita CBCT
PreXion
Planmeca ProMax 3D Max
Planmeca Romexis
Sidexis 4
Sirona 3d
Sirona SL + Sidexis 4 CBCT
Vatech
How can we help you today?
Can't find what you're looking for? No problem. Let us help.
ROE’s experts are dedicated to elevating your dental practice.
- Full-service national dental laboratory
- Comprehensive Certified Dental Laboratory (CDL) services
- Case planning support from 20+ Certified Dental Technicians
- Specialists in both fixed, removable, implant and full-arch dentistry
- Tailored support for all cases, from routine to complex
- National Association of Dental Laboratories (NADL) member
- Only FDA-approved materials used
- All products made in the USA
- Thousands of free online education materials
