- Home
- Products
- CHROME GuidedSMILE
- Restorative Phase
- The Printed Try-In™
The Printed Try-In™
Our Printed Try-in serves as a comprehensive prototype that allows you to verify every critical aspect—passivity, equilibration, esthetics, tissue adaptation, and speech—before committing to final zirconia fabrication.
This digitally designed, resin-printed appliance is created from your iJIG, RAPID, or screw-down setup records and features the flexibility to section and re-lute if passivity issues arise during the systematic verification process.
By ensuring all functional and aesthetic requirements are met at the try-in stage, this quality control step guarantees that your final monolithic restoration will seat passively and perform predictably, ultimately saving chair time and eliminating potential delivery complications.


Clinical Benefits of the
Printed Try-In
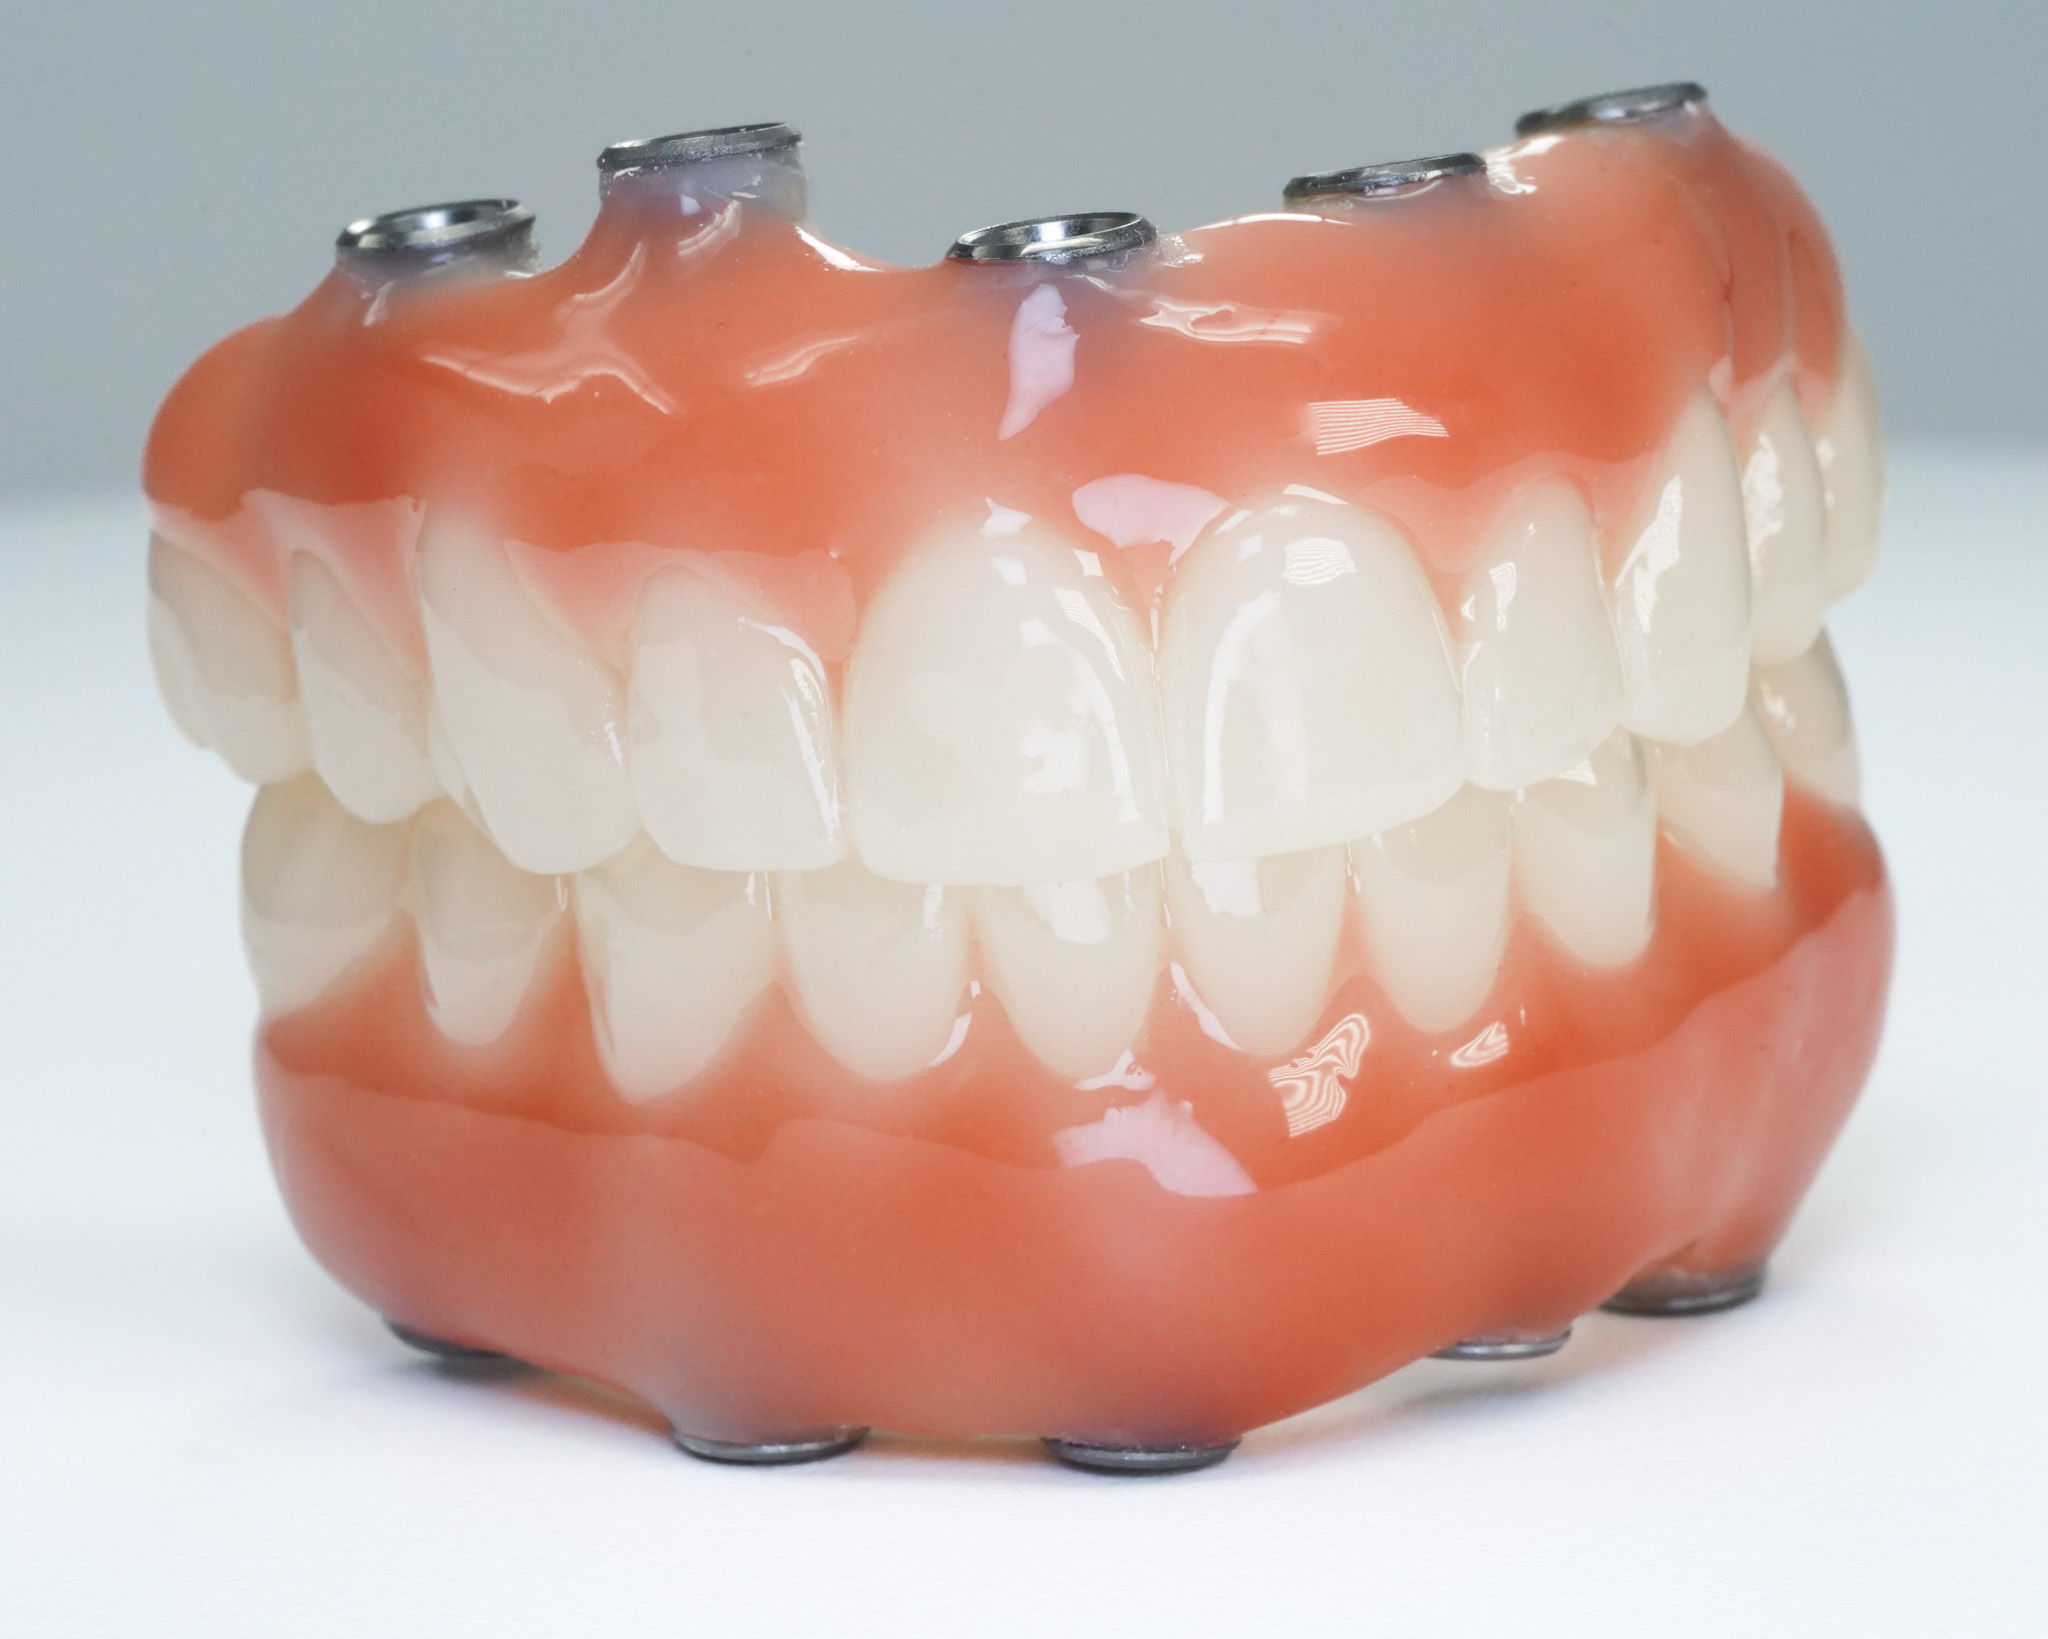
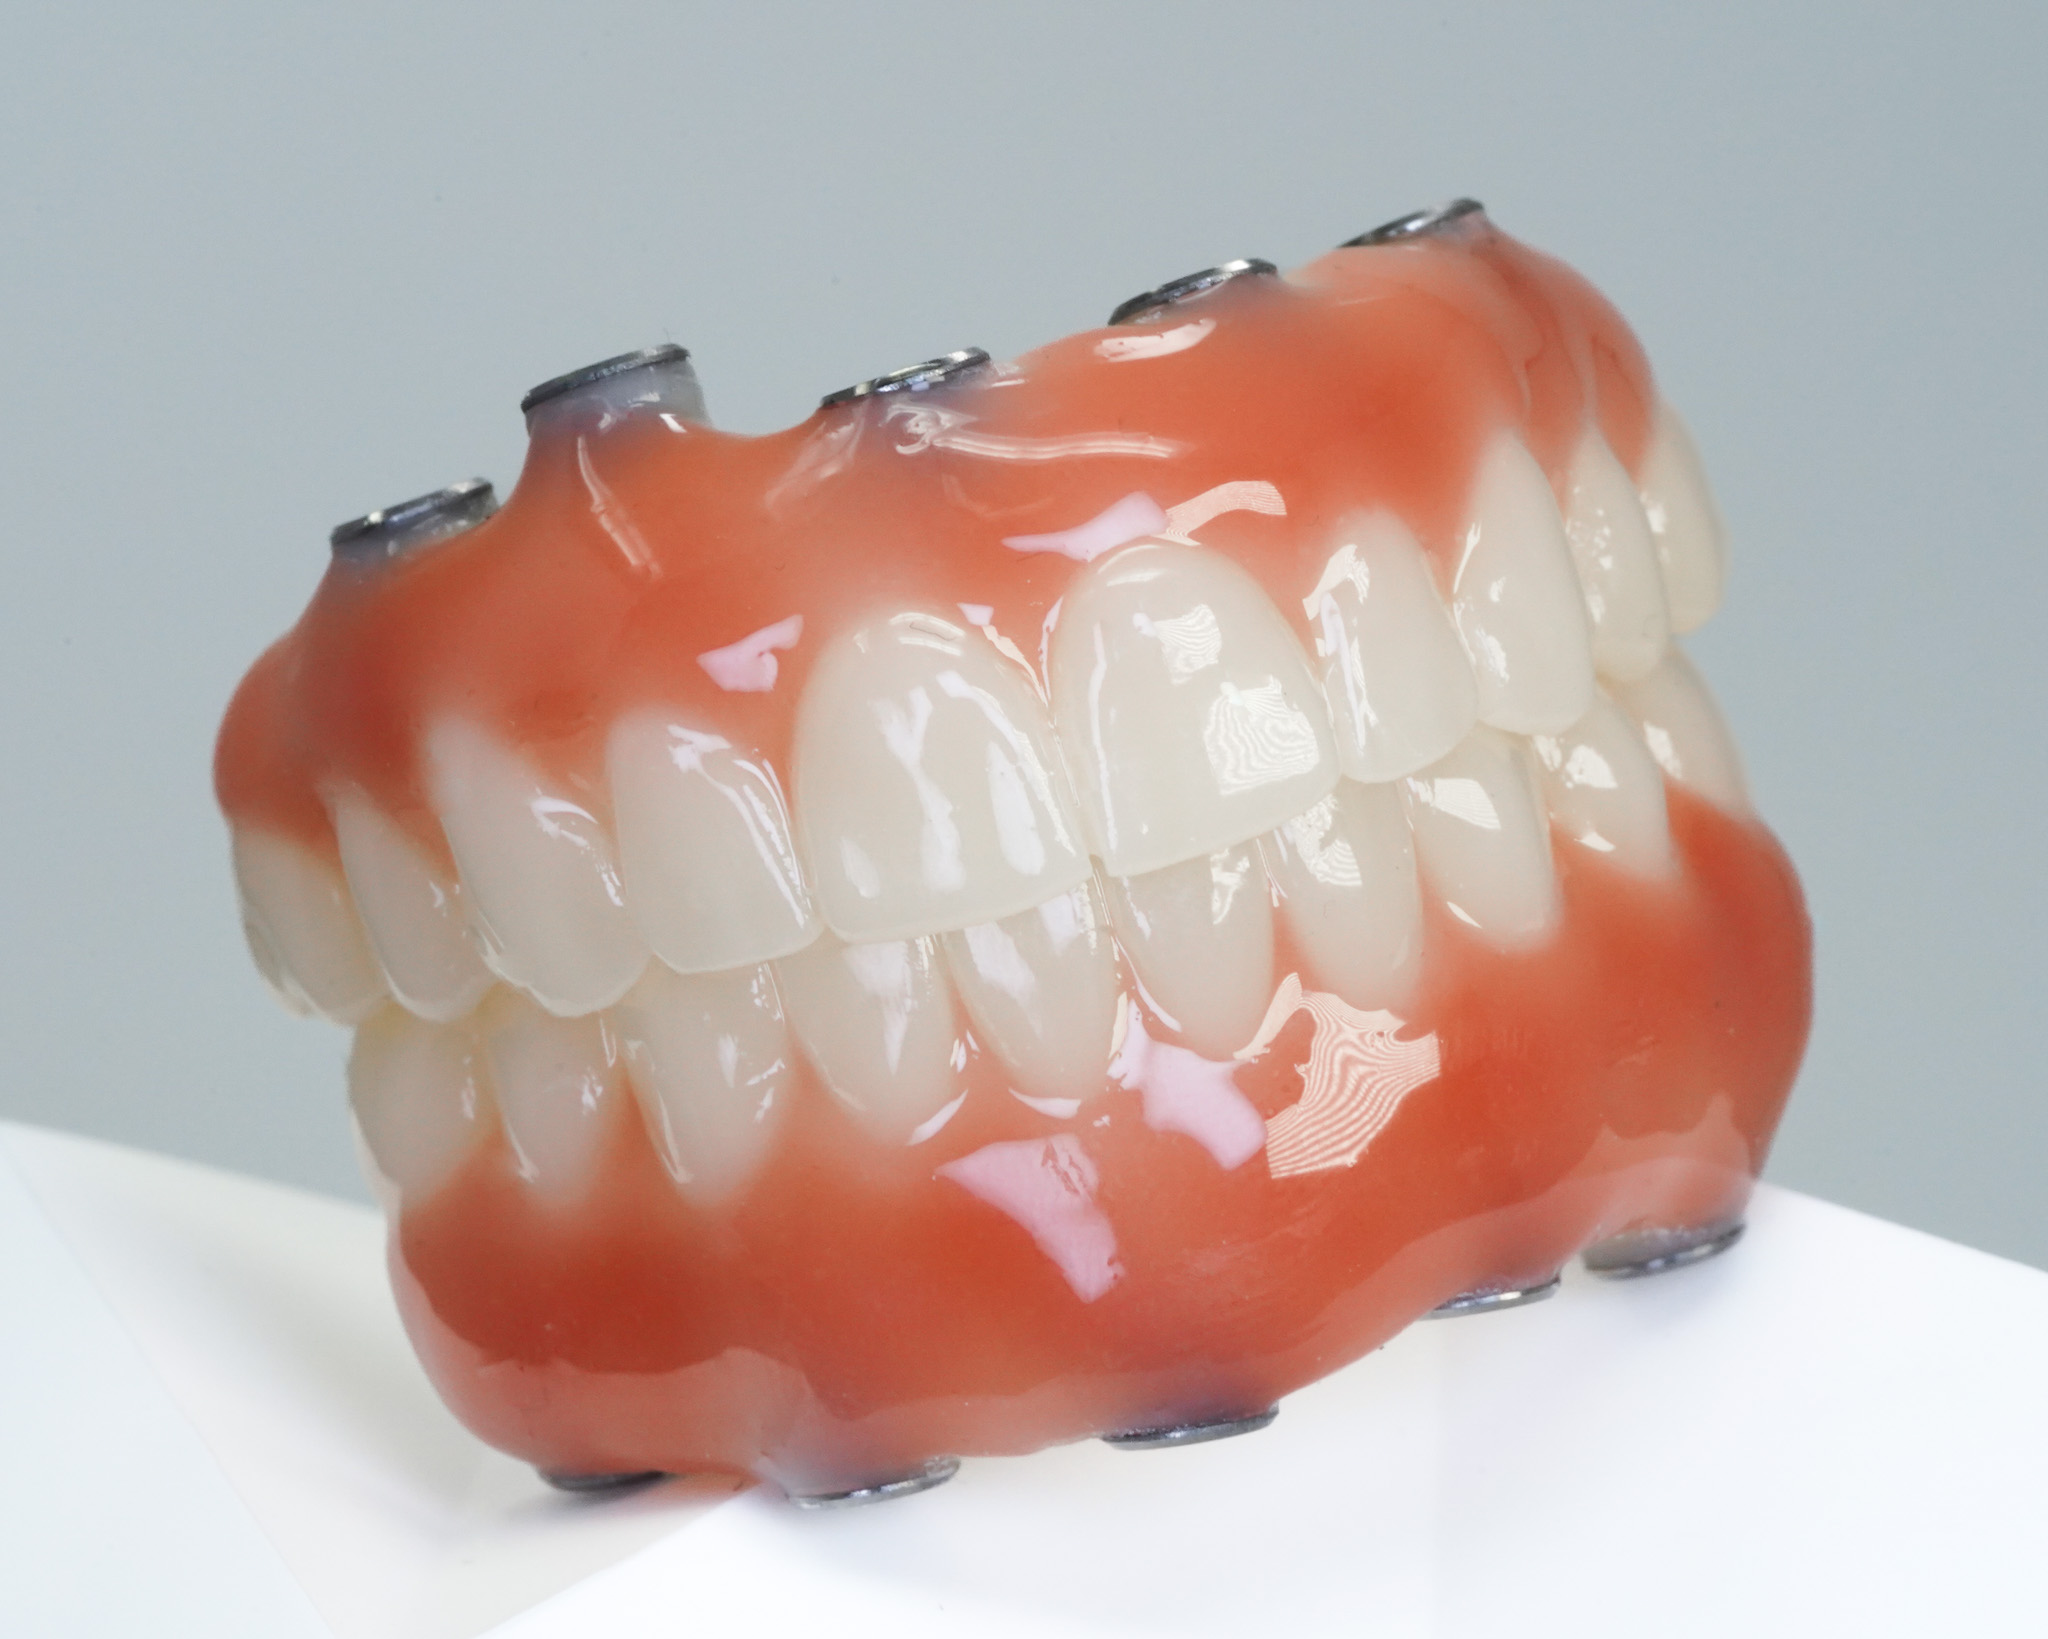
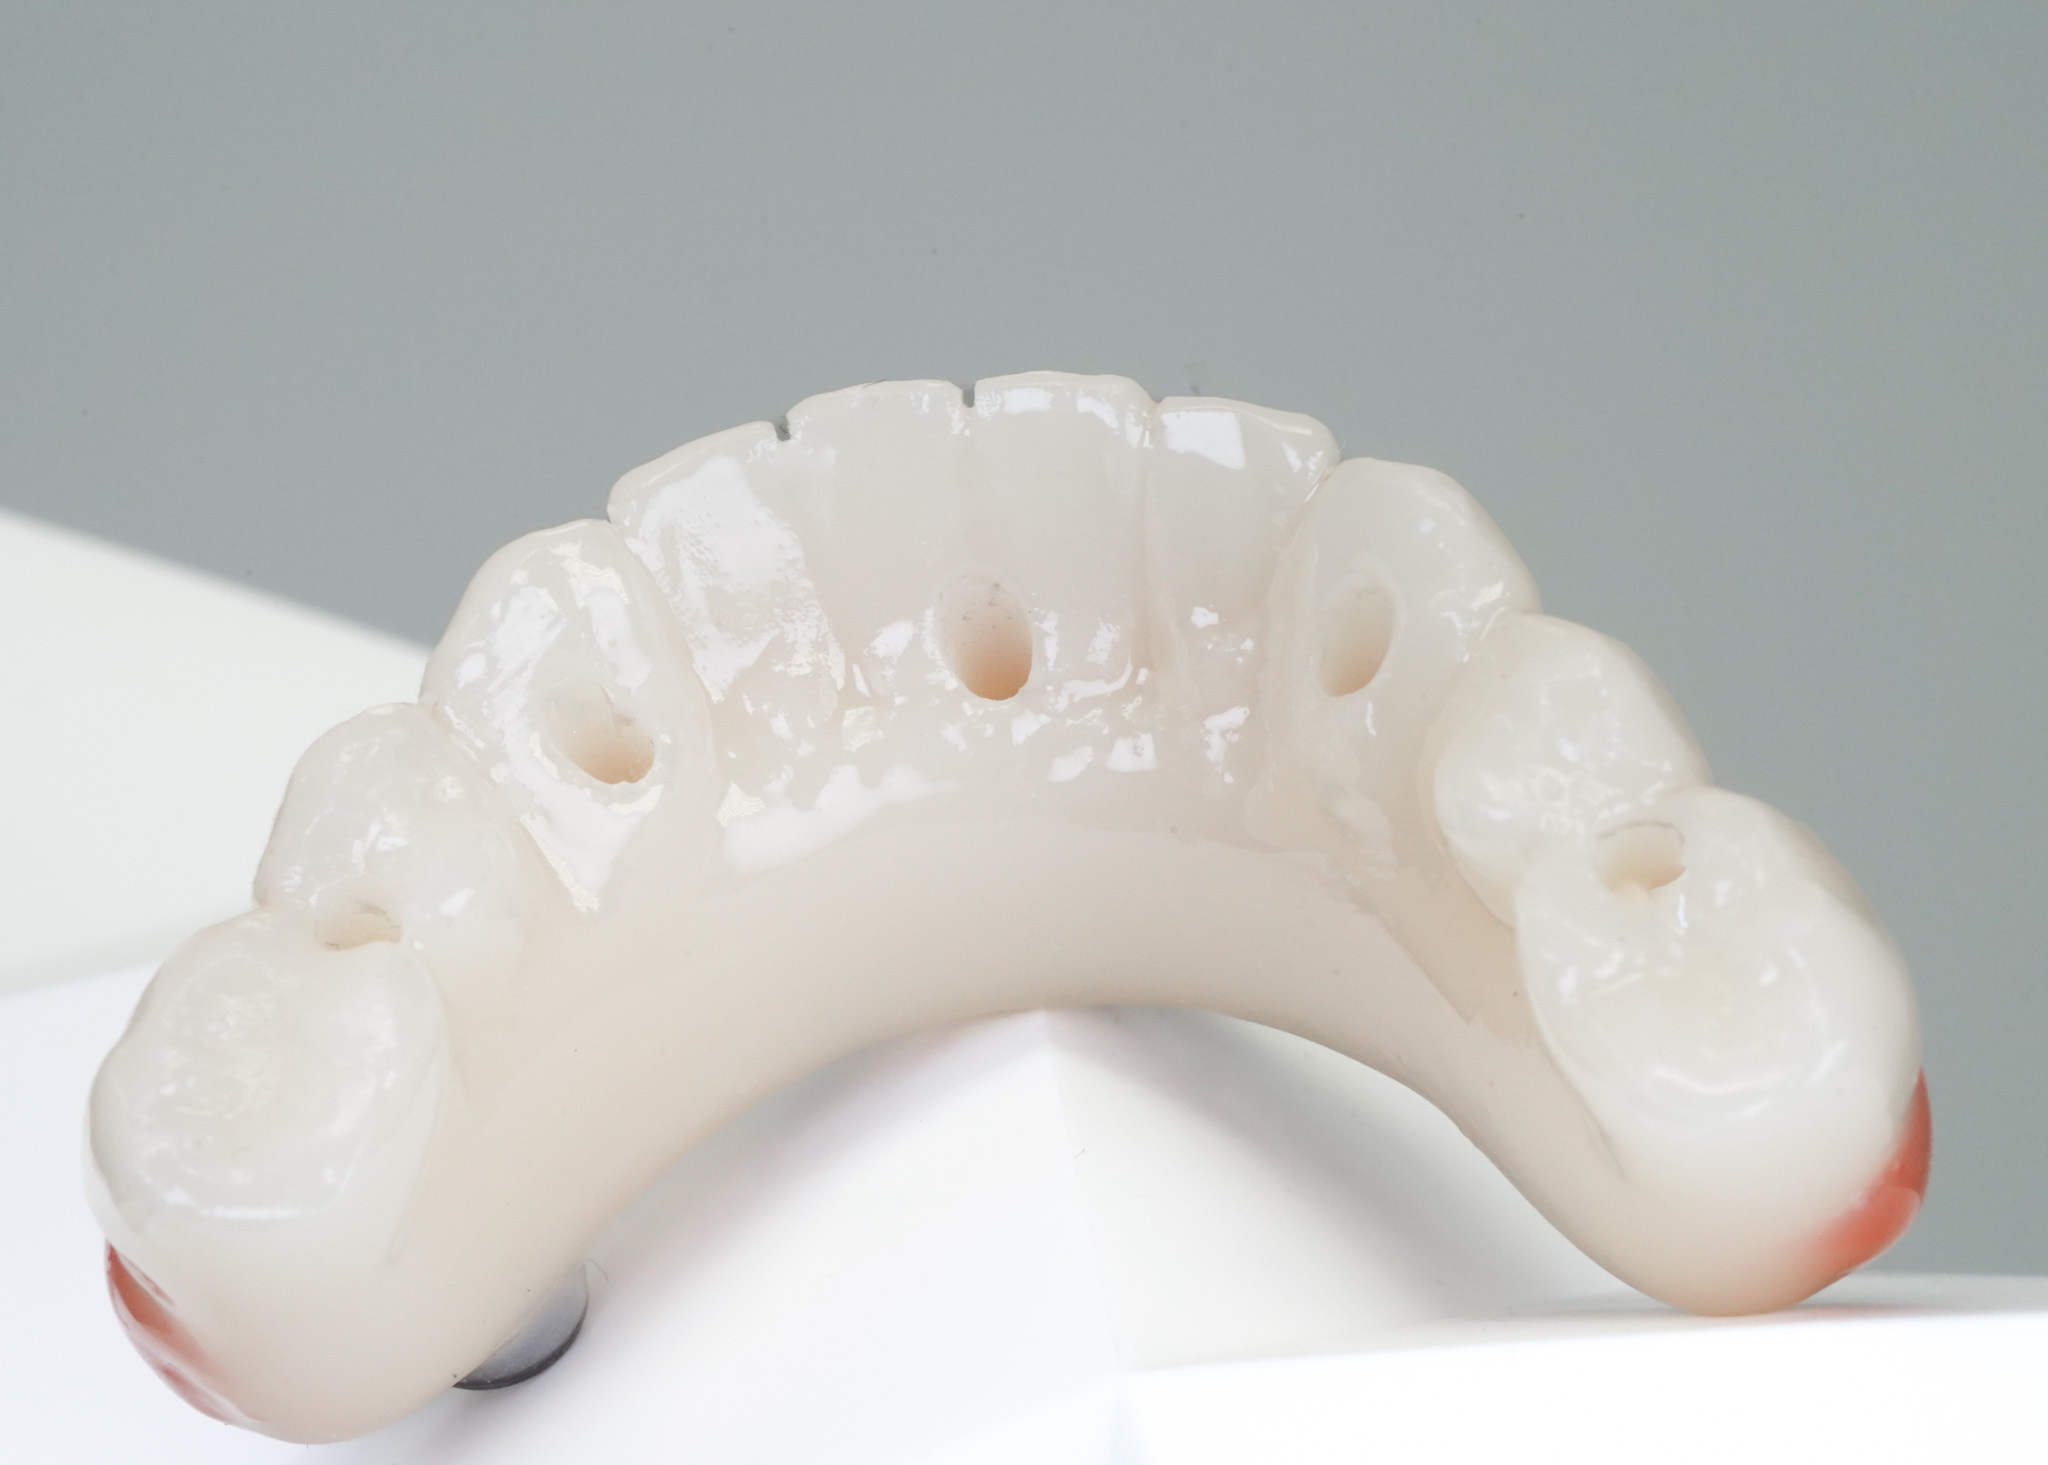
- Comprehensive Pre-Final Verification: Tests passivity, equilibration, aesthetics, tissue adaptation, and speech in a single appointment before zirconia commitment
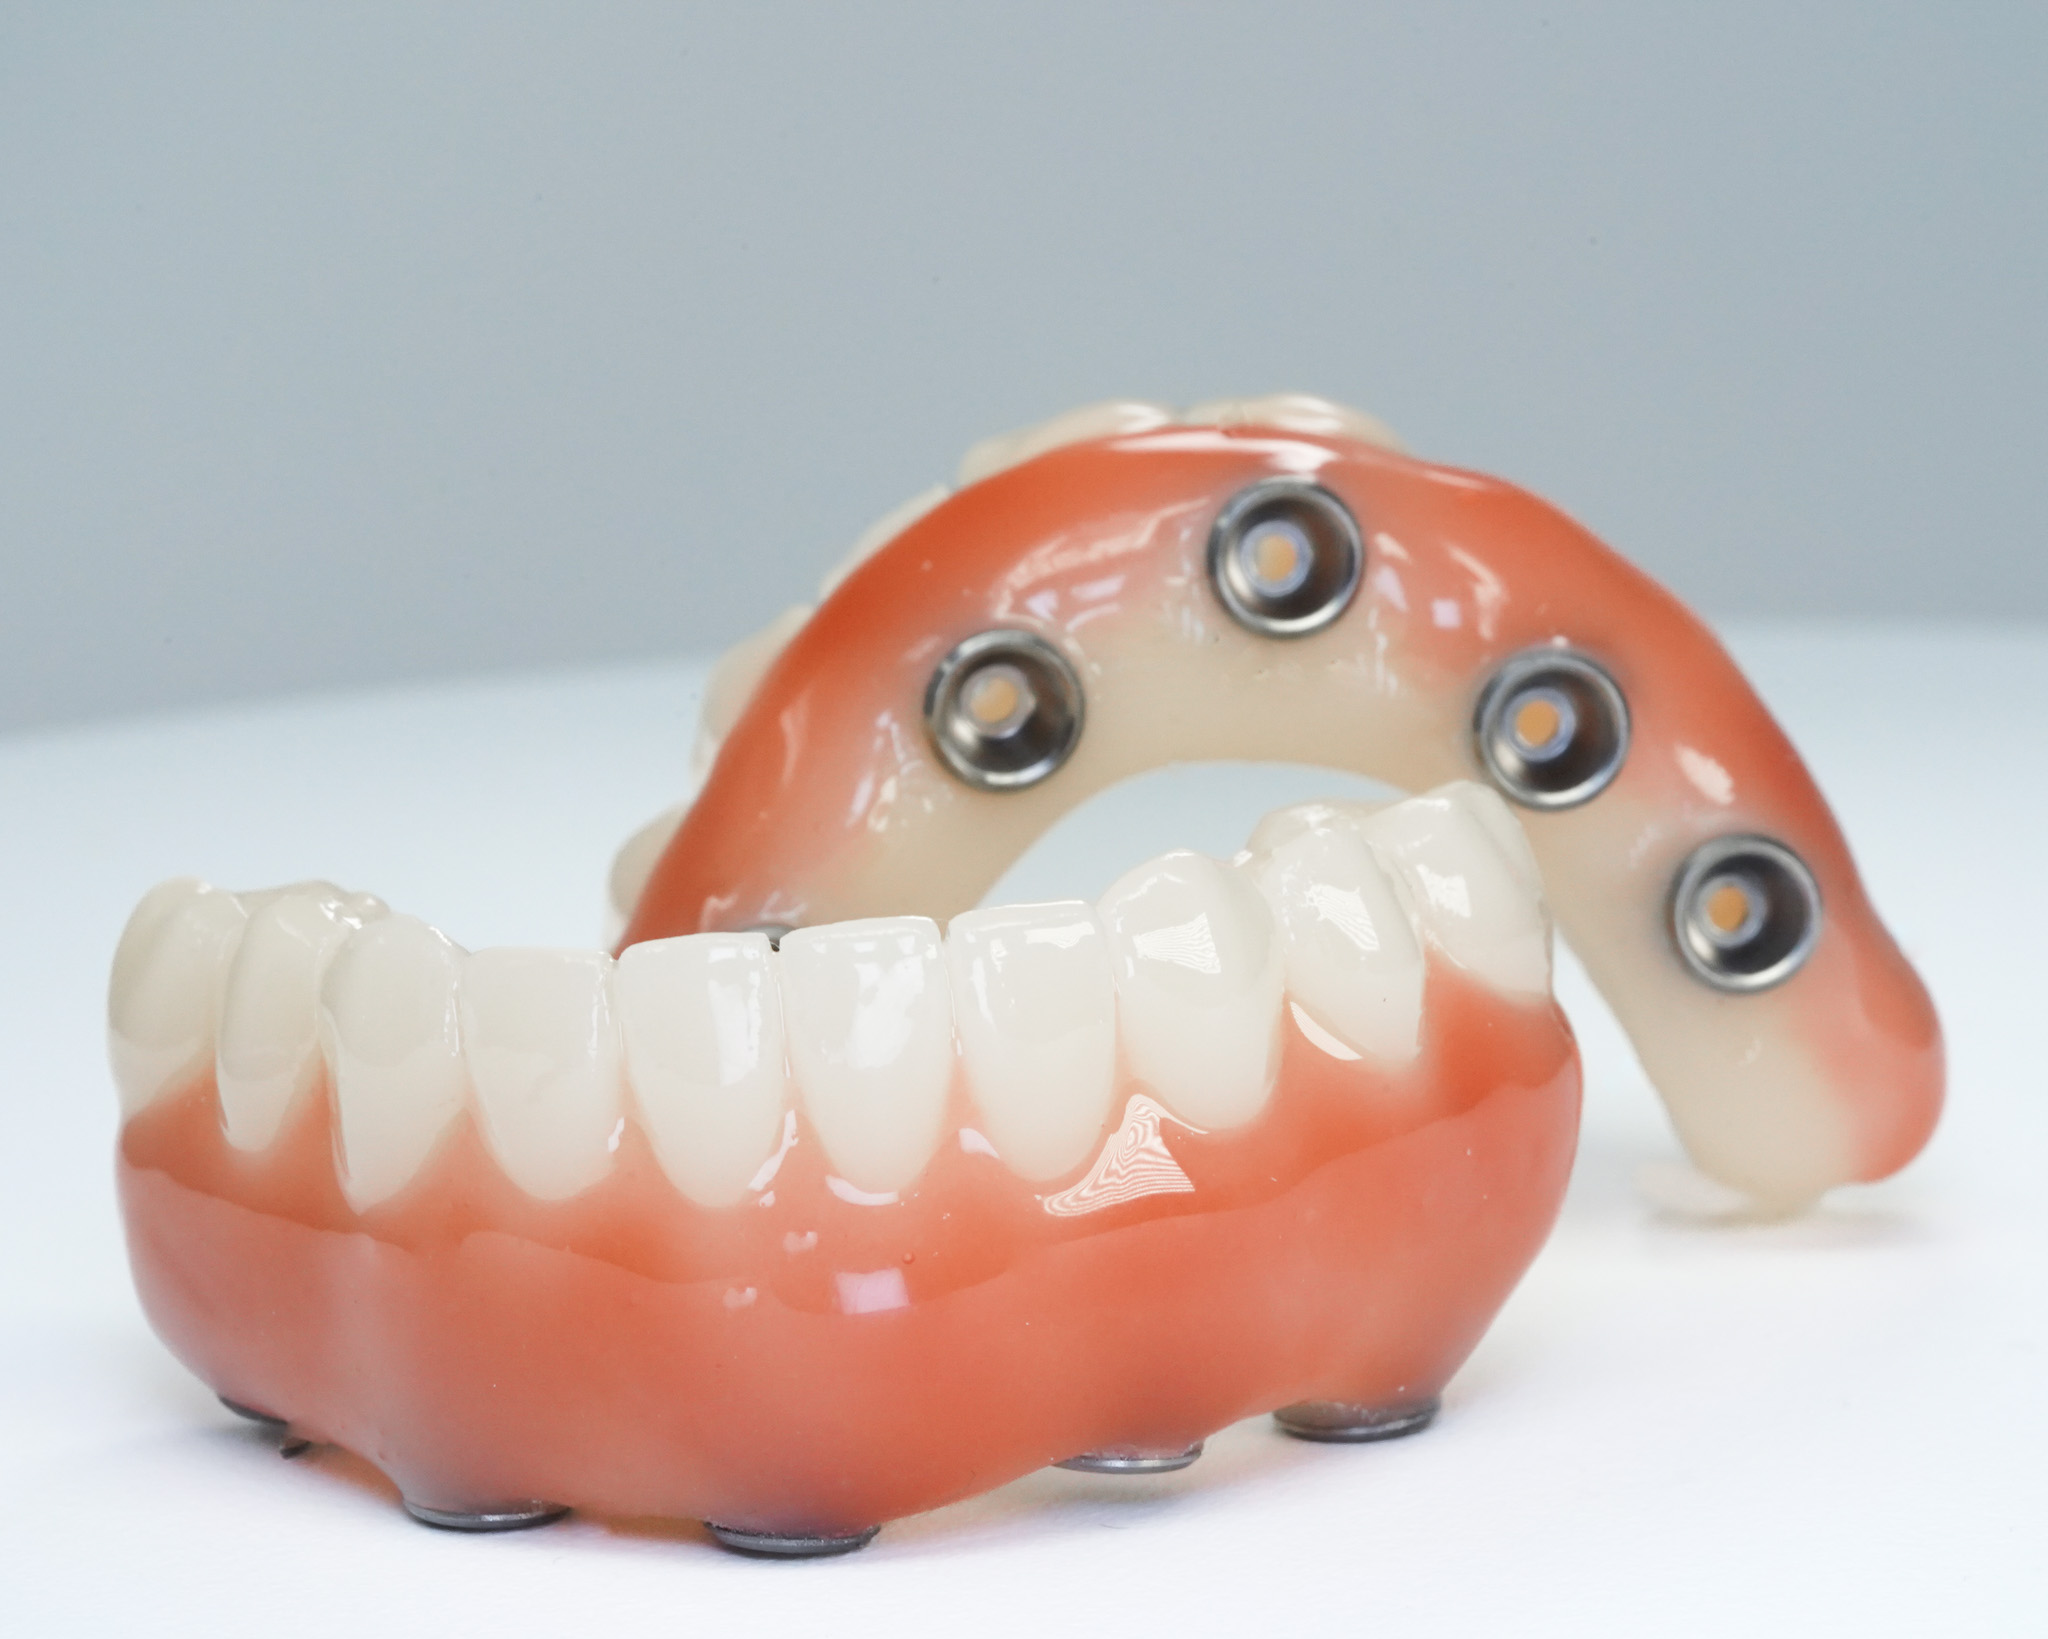
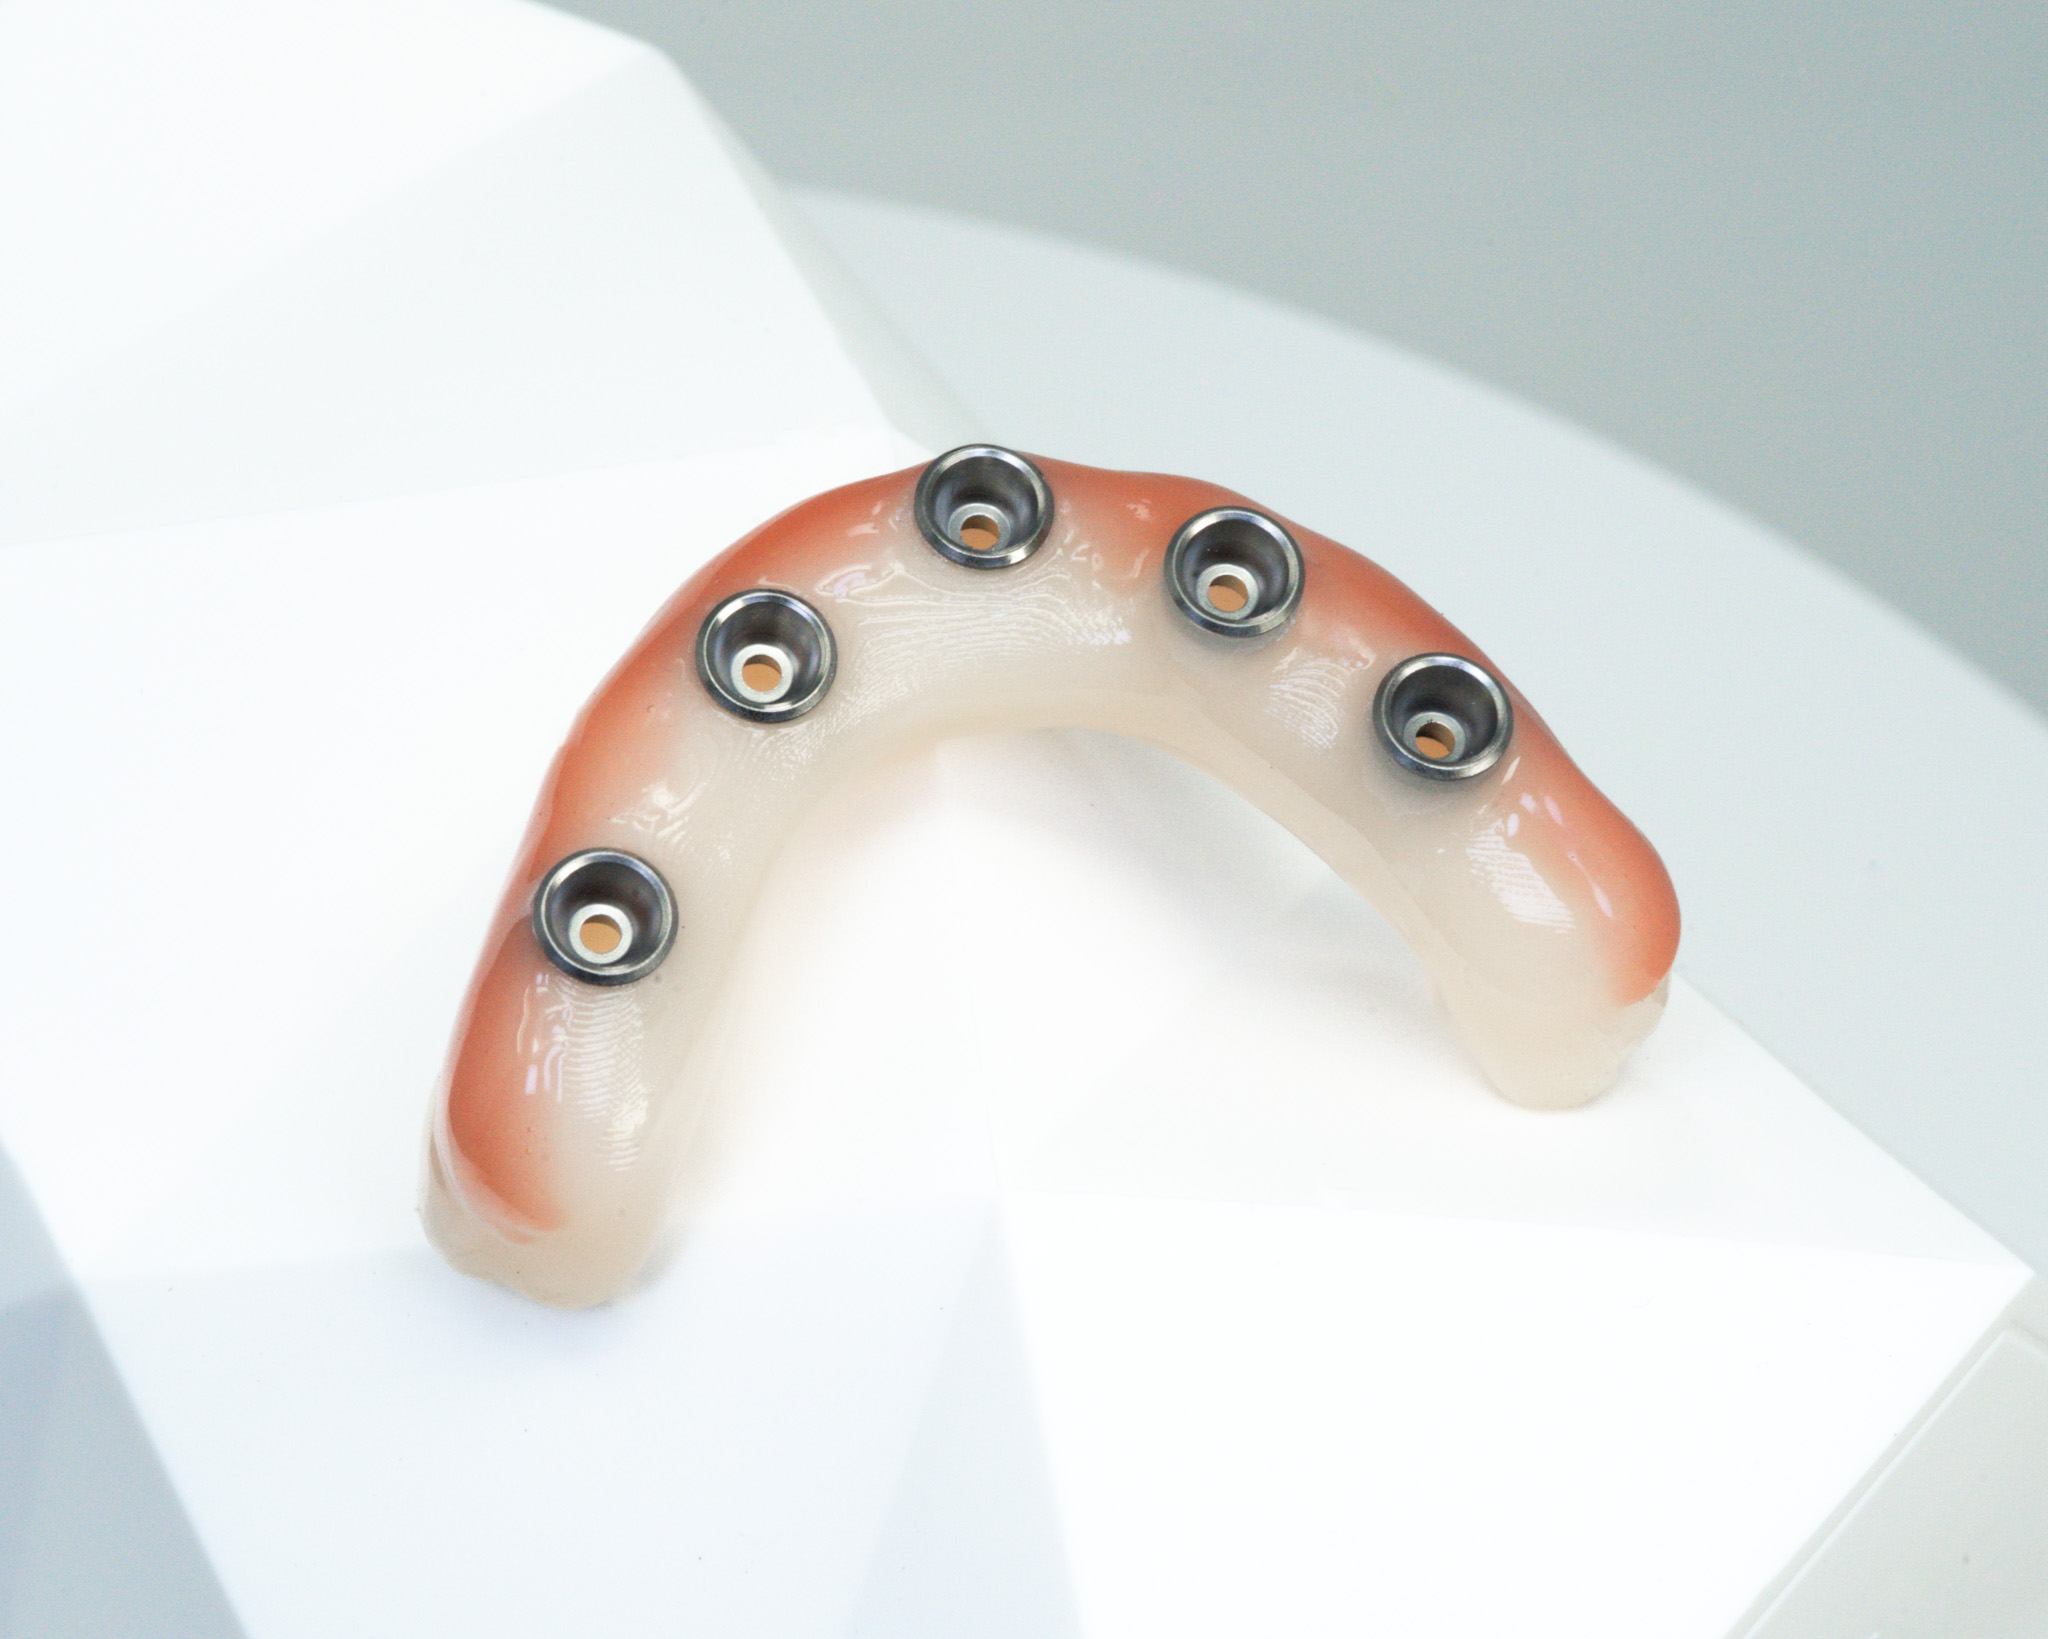
- Sectioning and Re-luting Capability: Can be divided and reassembled intraorally if passivity issues arise during one-screw Sheffield testing
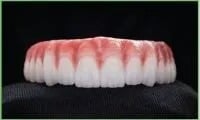
- Enhanced Patient Visualization: Tooth-colored resin with optional pink gingiva allows realistic aesthetic evaluation and patient approval
- Modification Flexibility: Adjustable with additive composite and reductive contouring to perfect contours and aesthetics
- Speech and Phonetic Testing: Enables comprehensive phonetic evaluation using established test phrases before final fabrication
- Tissue Adaptation Verification: Confirms ideal tissue contact and pressure distribution, preventing final restoration complications
- Quality Control Assurance: Eliminates potential delivery problems by resolving all fit and function issues at the prototype stage
- Multiple Creation Pathways: Can be fabricated from iJIG records, RAPID appliance, or traditional screw-down setups for workflow flexibility
- Documentation and Communication: Provides a physical reference for laboratory communication and a photographic record of required changes
Download Your Free CHROME GuidedSMILE
Ultimate Guide Now
What You'll Gain In This 90-Page Guide:
- Complete mastery of the 6-component & surgical protocol of the CHROME GuidedSMILE system
- Complete understanding of all necessary patient record requirements on a per-patient scenario
- Complete day-of-surgery prosthesis conversation process
Available in digital or print format (free mailing included).
Get Your CHROME GuidedSMILE Ultimate Guide Today
Downloadable Resources and Workflows
Printed Try-In Workflow
Workflow Steps | Instructions | Images |
---|---|---|
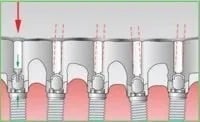
Step 1 | One-Screw (Sheffield) Test Seat the Printed Try-In placing one screw in the distal most implant on one side and ensure a passive, no-rock seat. Repeat on the other side. If there is rocking, remove a cylinder from the Printed Try-In and pick-up, or section the temp and lute, like a verification jig, until all sections are passive and there is no rock. If no rock is detected, go to next step. |
![]() |
Step 2 | Capture x-rays to ensure temp cylinders and abutments are engaged and fully seated. | ![]() |
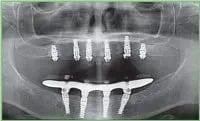
Step 3 | Equilibrate and adjust thoroughly. Adjust until the bite and VDO are exact. Adjust for esthetic and functional satisfaction. | ![]() |
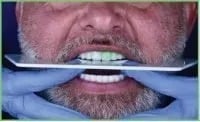
Step 4 | If it is a double arch patient, seat both appliances for the bite. | ![]() |
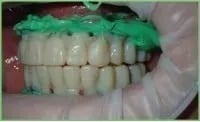
Step 5 | Verify that the tissue adaptation is ideal. If not, either remove the prosthesis and digitally scan the tissue, or add some tray adhesive to the intaglio of the prosthesis and take a reline impression using medium body PVS. | ![]() |
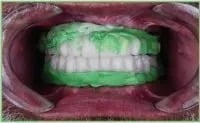
Step 6 | Check for proper lip support and phonetics. To understand how to diagnose and correct phonetic issues refer to ROE’s ROE's Full Arch Case Speech Complications for the patient test phrases and how to mitigate identified speech complications. |
![]() |
Step 7 | Photograph full-face, full-smile clearly showing what needs changed esthetically. Include opposing model. | ![]() |
Step 8 | Send all records to ROE Dental Laboratory. Submit your records directly into your patient case via the ROE online portal Next, ROE will fabricate the final prosthesis and send it back to you. |
![]() |
Video Resources
Prototype for Perfect Full Arch
ROE’s Printed Try-In
Printed Try-In
From RAPID Appliance to Try-In
Printed Try-In Quality Checklist
Quality Review Steps | Issue Resolution |
---|---|
Check passivity with the one-screw Sheffield test | If not passive, confirm if tissue pressure is the cause. If the tissue is the cause, then adjust the prothesis until a full and passive fit is achieved. If lack of passivity is not tissue-related, ensure the MUA’s are torqued, then, if needed, section the Printed Try-In, screw down, and lute the pieces together. Return the luted prototype to ROE, equilibrated with a new bite registration, and a new Printed Try-In will be fabricated. |
Verify the arch is fully equilibrated | Conduct a full prothesis equilibration and capture a bi-lateral bite if needed. |
Confirm tooth shade is correct | Discuss with the patient the acceptance of the provided tooth shade. If not acceptable conduct an additional tooth shade tab confirmation and add to the Rx. |
Confirm patient acceptance of esthetics | Modify the prosthesis with additive composite and/or reductive adjustment as needed. Send new full-face, full-smile photographs, plus close-up smiling photographs to share any visible modifications if they require further digital changes. |
Confirm tissue adaptation is acceptable (no gaps or excessive pressure) | Ensure the fit and feel on the tissue is final, as this will be difficult to change in zirconia. Adjust the pressure as deemed necessary and perform a wash impression to share voids with the lab. A new Printed Try-In is always available to test the changes. |
Conduct speech complication test | See ROE's Full Arch Case Speech Complications for the patient test phrases and how to mitigate identified speech complications. |
Printed Try-in: Frequently Asked Questions
Frequently Asked Questions
Have question? We are here to help

No results found.
- A digitally designed, resin-printed prototype that serves as a comprehensive test-drive appliance for your final full arch restoration
- Features tooth-colored material with optional pink gingiva for realistic patient visualization
- Contains cemented temporary cylinders for secure connection to multi-unit abutments
- Essential step before committing to final zirconia fabrication
- Recommended for all full arch cases where comprehensive verification is needed
- Particularly valuable for complex aesthetic cases or when significant changes from existing prosthetics are planned
- Combines multiple verification steps (passivity, esthetics, speech, tissue adaptation) in a single appointment
- Can be sectioned and re-luted chairside if passivity issues arise
- Provides realistic patient visualization with optional gingival coloring
- Digitally designed from your iJIG records, RAPID appliance, or screw-down setup
- 3D printed in biocompatible resin material
- Temporary cylinders are precisely cemented into the printed framework
- Complete iJIG records (digital scans and physical appliance)
- RAPID appliance with bite registration and opposing model
- Alternative: Traditional screw-down setup records
- Yes, we incorporate any design changes requested from previous appointments
- Digital setup modifications can be made before printing
- Physical modifications are best handled at the try-in appointment
- Perform a one-screw Sheffield test to verify passivity
- Capture verification X-rays
- Complete equilibration and VDO adjustment
- Assess tissue adaptation and take a reline impression if needed
- Conduct speech testing using our established protocols
- Document any aesthetic changes with photography
- Typically 45-60 minutes for comprehensive verification
- Additional time may be needed if sectioning and re-luting is required
- Double arch cases require additional time for both appliances
- Section the appliance between implant sites
- Screw down individual sections to verify passive fit
- Lute sections together intraorally using appropriate material (Stellar, etc.)
- Return the modified appliance with new bite registration
- Complete our comprehensive QC checklist covering passivity, equilibration, esthetics, tissue adaptation, and speech
- Ensure the one-screw test shows no rocking on both sides
- Confirm patient acceptance of shade and aesthetics
- Verify ideal tissue adaptation with no pressure points or gaps
- Verification x-rays showing temp cylinders and abutments are fully engaged and seated
- Capture images of all implant sites to confirm complete seating
- Document any gaps if sectioning was required
- Use ROE's Full Arch Case Speech Complications protocols
- Test specific phrases to identify phonetic issues
- Make appropriate adjustments to resolve speech problems
- Document any modifications needed for final restoration
- Yes, use additive composite for contour additions
- Reductive adjustments can be made with standard instruments
- Document all modifications with full-face, full-smile photographs
- Significant changes may require new Printed Try-In fabrication
- Add tray adhesive to intaglio and take a reline impression with medium body PVS
- Alternative: Remove the prosthesis and take a digital scan of the tissue
- We'll incorporate tissue changes into the final restoration design
- Take full-face, full-smile photographs showing desired changes
- Include close-up smiling photographs of any modifications
- Send an opposing model for reference
- Provide detailed written instructions with modifications
- Biocompatible dental resin optimized for intraoral use
- Available in tooth-colored base with optional pink gingival coloring
- Temporary cylinders are cemented using appropriate dental adhesives
- Designed for short-term clinical testing and patient evaluation
- Sufficient strength for equilibration, speech testing, and tissue assessment
- Not intended for long-term patient wear
- One Printed Try-In is included with the CHROME GuidedSMILE package
- Additional try-ins incur full fabrication fees
- Pricing varies based on complexity and modifications required
- When significant design changes are required after the initial try-in
- If major aesthetic modifications cannot be achieved chairside
- When tissue changes require substantial prosthetic redesign
- Contact ROE immediately for technical support and guidance
- Document issues with photographs and detailed descriptions
- We can provide protocols for chairside problem resolution
- New Printed Try-In can be fabricated if needed
- Use the ROE online portal to submit the case directly to your patient file
- Include all modifications, photographs, and new bite registration
- The physical appliance should be returned with all records
- We'll proceed to final restoration fabrication upon approval
Speech Complications Guide
Patient Test Phrase | Target Sounds | Mouth Position | How to Address |
---|---|---|---|
“Dentition” | D-N-T | Tongue to hard palate | Thin out the lingual area behind the teeth, while leaving a minimum of 3-4mm of material for strength. If needed, change abutment angles to move the screw access hole(s) closer to the teeth. |
“Lolly” | L | Tongue to lingual of anterior teeth | Anterior teeth are either placed too far facially or too far lingually. Too far facially: Add acrylic to the lingual of the teeth, then adjust. Too far lingually: Add acrylic to the facials of the teeth, then adjust. |
“Thirty-three” | TH | Tongue between upper and lower anterior teeth | Check the freeway space. There should be a min. of 2–3mm between max. intercuspation and the rest position. If there is not enough freeway space (too much VDO) grind the occlusals of posterior teeth on either/both arches to provide more freeway space and reduce VDO. Anterior teeth may need to be adjusted. If anterior teeth are not long enough, add composite to incisal edges. |
“Mississippi” | S-Z | Tongue between upper and lower anterior teeth | If space exists between the appliance and tissue, flowable composite can be injected into open spaces. If the upper and lower come into heavy contact, adjust incisal length of the upper/lower anterior teeth. Maxillary or mandibular antierior teeth may be too short. Lengthen with flowable composite until the “S” sound is corrected. |
“Shoelace” | SH | Tongue to posterior teeth | Posterior arch form is too narrow or there is too much VDO. Grind the lingual flange areas to make room for the tongue. If necessary, grind linguals of posterior teeth to make more room for the tongue. Consider creating a slight overjet, or cross-bite, on the mandible to make more room for the tongue. In many cases, the patient will have to adapt. |
“Fifty-five” | F-V | Upper incisors to lower lip | Maxillary anterior teeth that are set too high, or too low. Reduce the incisal length with a bur or lengthen by adding composite to the incisal edges of the teeth. Reaching with the lower lip to find contact with the upper incisal edges is a telltale sign of a problem. The jaw will move forward to allow the lower lip to find the incisal edges of the upper. Add length to the upper incisal edges until the “F-V” sounds are distinct. |
“Bump” | B-M-P | Lip to lip | Close the patient’s vertical dimension of occlusion, which will increase freeway space. If anterior teeth too far forward, bring teeth lingually to allow space for normal lip function. |
How can we help you today?
Can't find what you're looking for? No problem. Let us help.
ROE’s experts are dedicated to elevating your dental practice.
- Full-service national dental laboratory
- Comprehensive Certified Dental Laboratory (CDL) services
- Case planning support from 20+ Certified Dental Technicians
- Specialists in both fixed, removable, implant and full-arch dentistry
- Tailored support for all cases, from routine to complex
- National Association of Dental Laboratories (NADL) member
- Only FDA-approved materials used
- All products made in the USA
- Thousands of free online education materials