
Overview
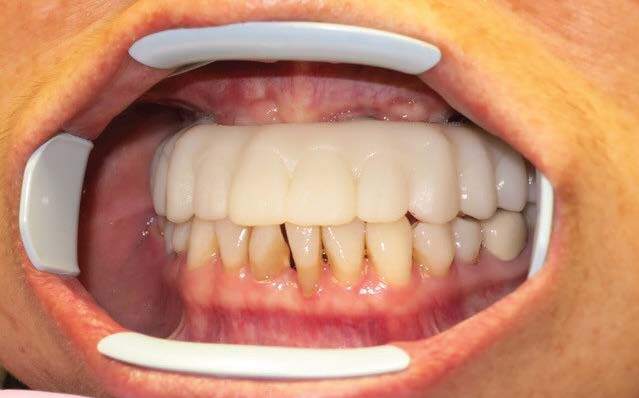
The RAPID Appliance is an exact duplicate of the provisional prosthesis used on the day-of-surgery. It is picked up during surgery and held until the time of final conversion. It may also be used as a temporary prosthesis.
The goal of the RAPID Appliance workflow is to capture records for a Printed Try-In.
Prerequisites
- Doctor must have picked up the RAPID Appliance and provisional prosthesis the day-of-surgery
Technology & Materials
-
PVS impression material
-
PVS wash reline material of choice
-
Tray adhesive
Photographs
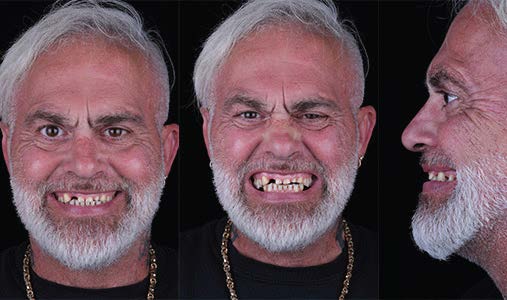
- Full-face full-smile
- Full-face exaggerated smile
- Optional: Full-face profile smile
Workflow Steps for using the RAPID Appliance Workflow for a Printed Try-in.
| Step | Instructions | Image |
|
1. |
Take the following photos with the patient standing up:
|
|
|
Tip: The doctor may choose to send ROE the patient’s RAPID Appliance OR the patient’s provisional prosthesis that they’ve been wearing (recommended). The benefit of sending ROE the provisional is that the patient’s bite is already worn-in to where the patient is comfortable. If this is the case, the doctor can skip equilibration before taking impressions (see step 2). If you send ROE the patient’s provisional prosthesis, go directly to step 3. |
||
| 2. |
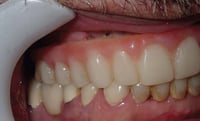
Remove the patient’s prosthesis. Add bonding agent or tray adhesive to the RAPID Appliance. |
 |
| 3. |
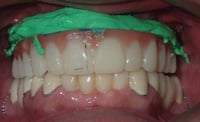
Seat and equilibrate the appliance. Capture the following impressions:
|
 |
| 4. |
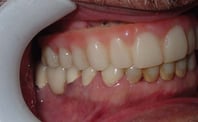
Remove the RAPID Appliance and send to ROE Dental Laboratory with opposing, bite, and photos. Alternatively, perform a wash on the surgical prosthesis and send the patient home in the RAPID Appliance. This provides the lab with a worn-in and accepted bite. |
 |
| 5. |
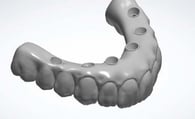
Ship the appliance and PVS impression(s) to ROE Dental Laboratory. Next, ROE will fabricate or provide in-office printing files for the Printed Try-In. The Printed Try-In is a 3D-printed prototype of the final prosthesis. See page 58 for more details.
|
|
Additional Resources
For more information concerning Restorative Protocol's:
- Full Arch Solutions Product Page
- Ultimate Restorative Protocol Guide - Your Guide to ROE's Restorative Protocol
- More Restorative Protocol Guide Workflow's
Contact Information
For help with Restorative Protocol's for your next case, contact ROE Dental Laboratory:
- Phone: (216) 663-2233
- Email: info@roedentallab.com