
Overview
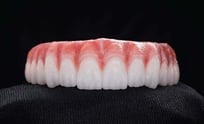
The Printed Try-in is the prototype of the final full-arch restoration. This tooth-colored appliance (with a pink gingiva option), gives the patient a test-drive prosthesis needed to confirm the final. Doctors will receive this appliance and follow the usage instructions below. With an approved Printed Try-In, ROE will fabricate the final restoration, or by request, for an additional full fee, fabricate another Printed Try-In.
The goal of the Printed Try-In workflow is to go to a final restoration.
Prerequisites
- Doctor must have a followed one of the previous workflows to get to a Printed Try-In
Technology & Materials
-
PVS impression material
-
Acrylic resin (e.g. Stellar)
Photographs
- Full-face full-smile
Workflow Steps for using the workflow for a Printed Try-in
| Step | Instructions | Image |
| 1. |
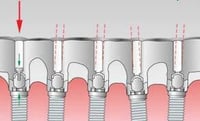
One-Screw (Sheffield) Test – Seat the Printed Try-In placing one screw in the distal most implant on one side and ensure a passive, no-rock seat.
|
 |
| 2. | Capture x-rays to ensure temp cylinders and abutments are engaged and fully seated. | 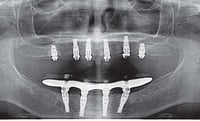 |
| 3. | Equilibrate and adjust thoroughly. Adjust until the bite and VDO are exact. Adjust for esthetic and functional satisfaction. | 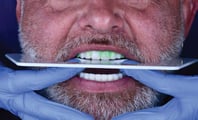 |
| 4. |
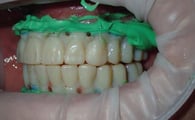
If it is a double arch patient, seat both appliances for the bite.
|
|
| 5. |
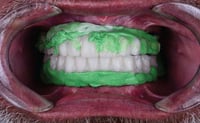
Verify that the tissue adaptation is ideal. If not, either remove the prosthesis and digitally scan the tissue, or add some tray adhesive to the intaglio of the prosthesis and take a reline impression using medium body PVS. |
 |
|
6. |
Check for proper lip support and phonetics. |
|
|
7. |
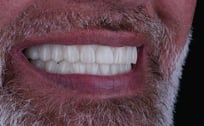
Photograph Full-face, full-smile clearly showing what needs changed esthetically. Include opposing model. |
|
|
8. |
Send all records to ROE Dental Laboratory. Next, ROE will fabricate the final prosthesis and send it back to you. |
|

Additional Resources
For more information concerning Restorative Protocol's:
- Full Arch Solutions Product Page
- Ultimate Restorative Protocol Guide - Your Guide to ROE's Restorative Protocol
- More Restorative Protocol Guide Workflow's
Contact Information
For help with Restorative Protocol's for your next case, contact ROE Dental Laboratory:
- Phone: (216) 663-2233
- Email: info@roedentallab.com