
Overview
Dental photogrammetry is the process of taking multiple high-resolution photos of a patient’s mouth from different angles. These photos are then uploaded into specialized software that stitches the images together. This creates an extremely accurate 3D model of the teeth and surrounding tissues, and a 3D, rotatable facial image.
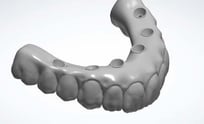
The goal of the Photogrammetry workflow is to capture records for a Printed Try-In.
Prerequisites
- Patient must have existing denture or prosthesis
Technology & Materials
-
Photogrammetry system
-
Photogrammetry scan bodies
-
Intraoral scanner
-
PVS wash reline material of choice
-
If patient has a denture: Healing caps approved for IOS scanning
Photographs
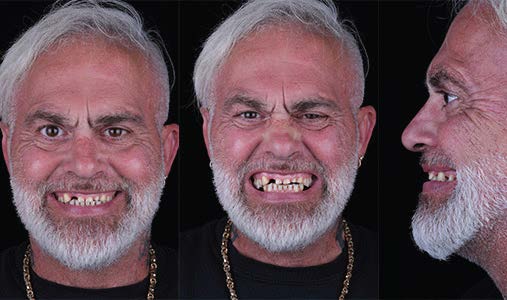
- Full-face full-smile
- Full-face exaggerated smile
- Optional: Full-face profile smile
Workflow Steps for using the Photogrammetry Workflow for a Printed Try-in
| Step | Instructions | Image |
|
1. |
Take the following photos with the patient standing up:
|
|
| 2. |
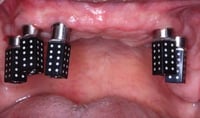
Remove the patient’s denture/prosthesis. Seat the photogrammetry scan bodies passively onto each MUA.
|
 |
| 3. |
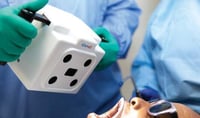
Perform the photogrammetry scan. |
 |
|
Important: Steps 4-7 are for dentures only. If your patient has a loaded prosthesis, not a denture, go directly to step 8. |
||
| 4. |
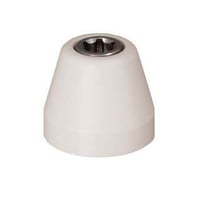
Seat approved healing caps onto the MUAs. Note: If you are unsure if your healing collars are approved for use with photogrammetry, visit our website at www.roedentallab.com/photogrammetry |
 |
| 5. |
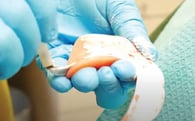
Try in the denture and ensure full seat over the healing collars. Adjust the denture as needed to ensure passive seat. |
|
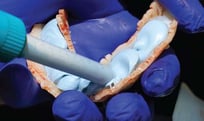
| 6. |
Perform a PVS wash (not Blue Mousse) capturing the detail of all of the healing collars, in occlusion. Remove the denture. |
 |
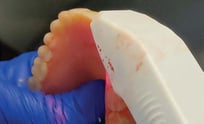
| 7. |
Capture a 360° extraoral scan of the denture with the IOS. |
 |
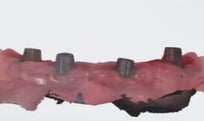
| 8. |
Scan the tissue and MUAs with your IOS. Nothing should be seated on the MUAs. A PVS impression is also suitable.
|
 |
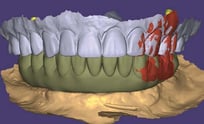
| 9. |
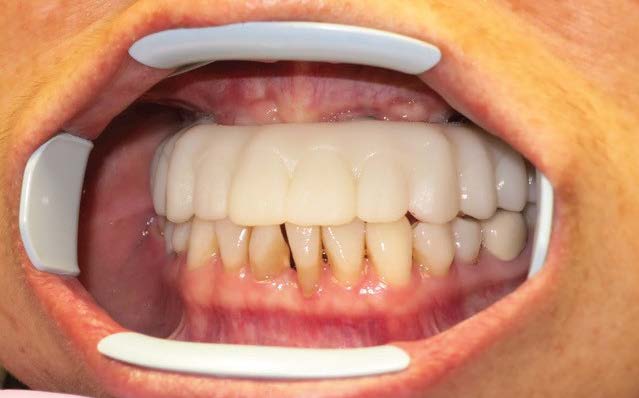
Re-seat the denture or prosthesis. Capture the following IOS scans:
|
 |
| 10. |
Upload all scans to ROE Dental Laboratory.
|
|
Additional Resources
For more information concerning Restorative Protocol's:
- Full Arch Solutions Product Page
- Ultimate Restorative Protocol Guide - Your Guide to ROE's Restorative Protocol
- More Restorative Protocol Guide Workflow's
Contact Information
For help with Restorative Protocol's for your next case, contact ROE Dental Laboratory:
- Phone: (216) 663-2233
- Email: info@roedentallab.com