
Overview
Patients may change from overdentures to fixed prostheses seeking improved esthetics, function, and self-confidence. The primary considerations are:
-
Highly accurate implant level impressions.
-
Choosing MUA angles and collar heights.
-
Prosthetic space and flange considerations: Many overdenture patients need a flange for lip support, and may be a disqualifier for a fixed prosthesis. A minimum of 13mm of space is required (15mm is ideal) from implant platform to screw exit around the arch.
-
Trying in a prototype in as few appointments as possible.
-
Lab Tech Chairside support for a conversion: A lab tech can help process the All-On-X day of conversion (restorative conversion).
-
The goal of the Overdenture to Fixed Prosthesis workflow is to seat MUAs at the ideal orientation and capture records for a Printed Try-In.
Prerequisites
- Patient must have a duplicate or immediate denture to convert
-
Ability to perform an All-On-X denture conversion
Technology & Materials
-
MUAs
-
Chairside materials for an All-On-X conversion
-
Chairside materials for a RAPID Appliance protocol
Photographs
- Full-face full-smile
- Full-face exaggerated smile
- Optional: Full-face profile smile
Workflow Steps for using the Overdenture to Fixed Prosthesis Workflow for a Printed Try-in
| Step | Instructions | Image |
|
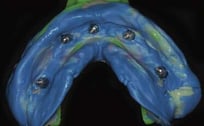
1. |
Remove the overdenture and the bar and capture an implant-level impression. This impression must capture the tissue detail around each implant in order to determine MUA angle and collar height. Tip: The height is measured from the top of the implant to the top of the healing collar. |
|
| 2. |
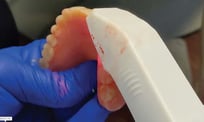
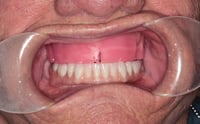
Produce a denture via one of two methods: a. Duplicate the existing overdenture using a using a flasking technique, or 360° scan the existing denture with an IOS. Denture must be in an acceptable condition. b. Produce a new denture using conventional techniques.
|
  |
| 3. |
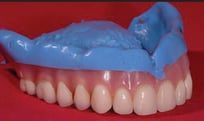
Capture a wash impression inside the new denture. Capture a bite and opposing model. |
 |
|
Important: The following steps are for the second appointment. Do not proceed until the appropriate MUAs and a conversion denture are at hand. |
||
| 4. |
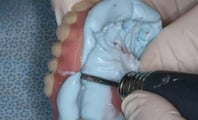
Remove overdenture and bar, seat the MUA’s, and perform the denture conversion. This is a traditional All-On-4 type conversion, turning the denture into a ‘hybrid’. See the Freehand Denture Conversion protocol (page 45) for more details. |
 |
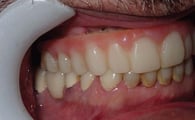
| 5. |
Once complete, send patient home for a time period that allows approval, equilibration, modification to doctor and patient satisfaction. |
|
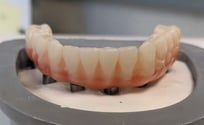
| 6. |
Perform the Flasking Technique. See page 30. |
 |
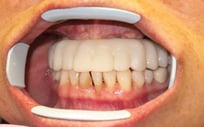
| 7. |
Send all records to ROE Dental Laboratory. Next, ROE will fabricate or provide in-office printing files for the Printed Try-In. The Printed Try-In is a 3D-printed prototype of the final prosthesis. See page 58 for more details. |
 |
Additional Resources
For more information concerning Restorative Protocol's:
- Full Arch Solutions Product Page
- Ultimate Restorative Protocol Guide - Your Guide to ROE's Restorative Protocol
- More Restorative Protocol Guide Workflow's
Contact Information
For help with Restorative Protocol's for your next case, contact ROE Dental Laboratory:
- Phone: (216) 663-2233
- Email: info@roedentallab.com