
Overview
Freehand denture conversion directly modifies a full denture, converting it to a fixed full-arch hybrid chairside using auto-polymerizing acrylics. The denture will then be used as a starting point for the final prosthesis design.
The goal of the Freehand Denture Conversion workflow is to capture records for a Printed Try-In.
Prerequisites
- Patient has implants with healing caps or MUAs
-
Patient has existing dentures or immediate dentures
Technology & Materials
-
Titanium temporary cylinders, MUAs, analogs
-
PVS impression material (medium-body)
-
Blue Mousse bite material
-
White and pink acrylic resin (e.g. Stellar) or methyl methacrylate (MMA) adhesive
-
Rubber dam
-
Burs, polishing points, polishing wheels, etc.
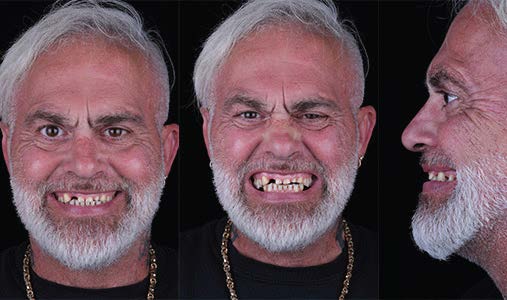
Photographs
- Full-face full-smile
- Full-face exaggerated smile
- Optional: Full-face profile smile
Workflow Steps for using the Freehand Denture Conversion Workflow for a Printed Try-in
| Step | Instructions | Image |
|
1. |
Take the following photos with the patient standing up:
|
|
| 2. |
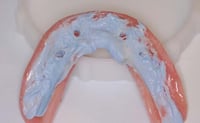
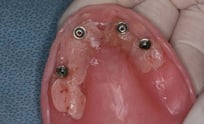
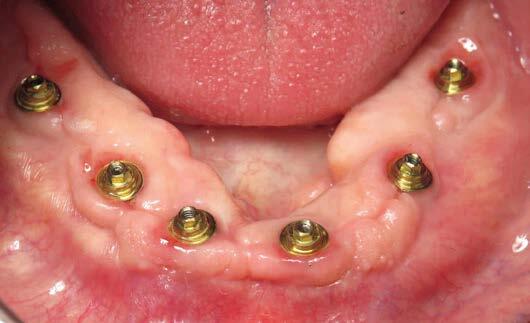
Capture a denture wash Blue Mousse impression over the healing caps once MUAs are placed.
|
 |
| 3. |
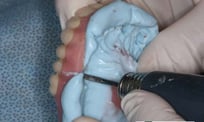
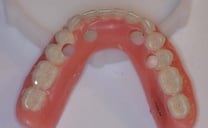
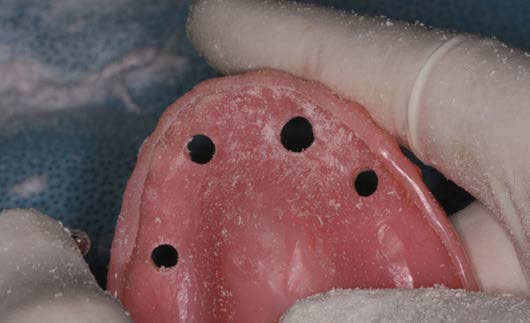
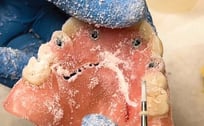
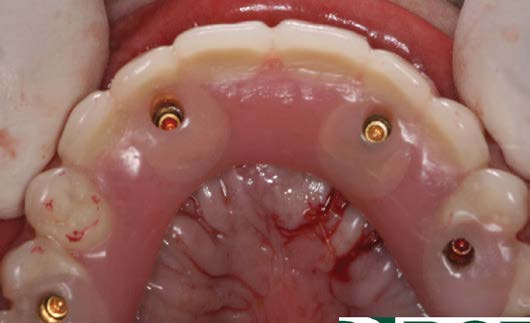
Remove the denture. Drill holes through the MUA sites from the intaglio. Enlarge the holes. |
  |
| 4. |
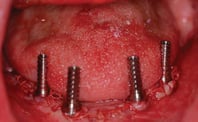
Place the temporary cylinders on the MUAs. Place light-body PVS to protect the access openings to the abutment screws. Try in the patient’s denture and check temporary cylinders for clearance. Modify the heights of the temporary cylinders for clearance, or open holes in the denture. |
 |
| 5. |
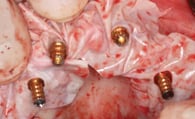
Place a rubber dam or small rubber gaskets over the cylinders to prevent locking acrylic around the MUA abutments. |
|
| 6. |
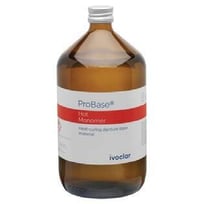
Prepare the surface of the modified denture to accept the acrylic used to attach the titanium temporary abutments.
|
  |
| 7. |
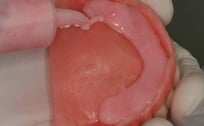
Seat the denture into position over the temporary cylinders that have been cut down to allow the patient to close into occlusion. Inject acrylic around each temporary cylinder, making sure that the acrylic is contacting the denture for bonding of materials. |
 |
| 8. |
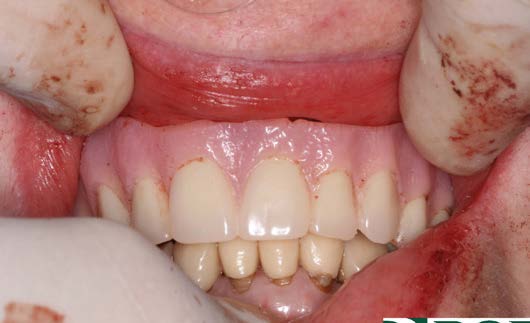
Remove the interim hybrid(s) and the rubber dam, and evaluate the tissues. Backfill the interim hybrid as needed to fill out the contour, and cover around the titanium temporary abutments. Polish with silicone points, polishing wheels and pumice. |
|
| 9. |
Replace interim hybrid(s) and evaluate contact with the soft tissue as well as occlusal contacts in order to adjust as necessary. Fill access holes with light-body PVS and either bis-acrylic or composite to protect access holes. |
|
| 10. |
Seat MUAs and move on to the MUA-level options workflow (see page 12). |
|
Additional Resources
For more information concerning Restorative Protocol's:
- Full Arch Solutions Product Page
- Ultimate Restorative Protocol Guide - Your Guide to ROE's Restorative Protocol
- More Restorative Protocol Guide Workflow's
Contact Information
For help with Restorative Protocol's for your next case, contact ROE Dental Laboratory:
- Phone: (216) 663-2233
- Email: info@roedentallab.com