
Overview
The flasking technique makes a duplicate of the provisional prosthesis used on the day-of-surgery. The goal of the Flasking Technique workflow is to capture records to fabricate a Printed Try-In.
Prerequisites
- Patient must have an existing screw-retained prosthesis
Technology & Materials
-
PVS impression material
- MUA analogs
-
Denture flask / cup / container for stone / model base former
-
Casting stone
-
Lab putty
Photographs
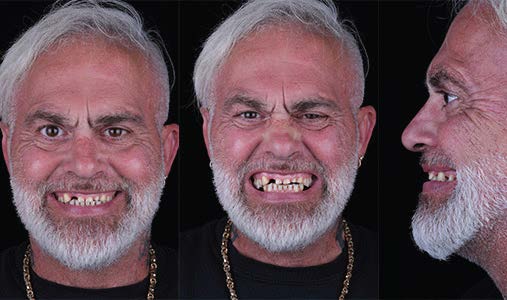
- Full-face full-smile
- Full-face exaggerated smile
- Optional: Full-face profile smile
Workflow Steps for using the RAPID Appliance Workflow for a Printed Try-in.
| Step | Instructions | Image |
|
1. |
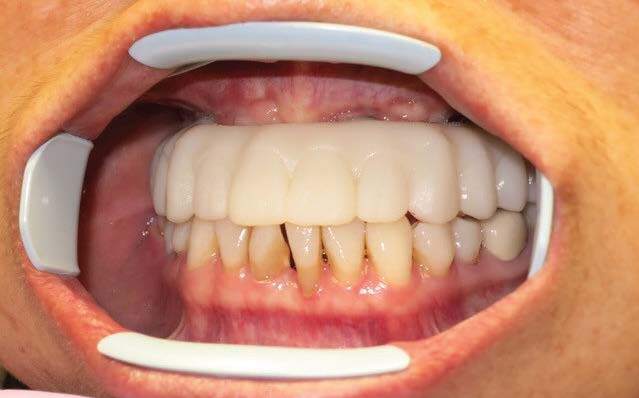
Take the following photos with the patient standing up:
|
|
| 2. |
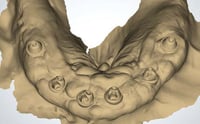
Remove the prosthesis. Capture the following PVS impressions:
Note: The impressions could be taken digitally, but the appliances would still need to be shipped to ROE for mounting. |
 |
| 3. |
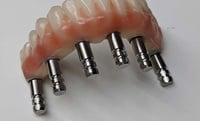
Seat the MUA analogs passively onto each of the temporary cylinders of the prosthesis. |
 |
| 4. |
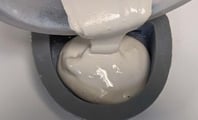
Acquire a flask, denture cup, or any container that can hold casting stone. Mix and pour casting stone into the flask.
|
 |
| 5. |
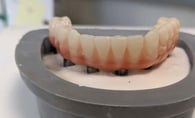
Set the prosthesis down in the stone. Ensure it is filled to the length of the analogs, adjusting to cover any low areas. It is important to ensure that the intaglio of the prosthesis is sitting a little bit above, not touching, the stone. Let the stone set and become completely hard. |
|
| 6. |
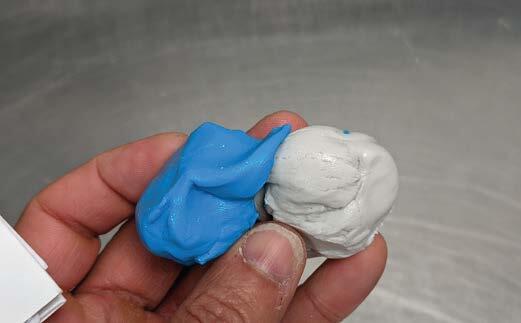
Take a lab putty material, 1:1 ratio, and knead it together to reach a ball of putty large enough to cover the prosthesis and extend to the rim of the flask. |
 |
| 7. |
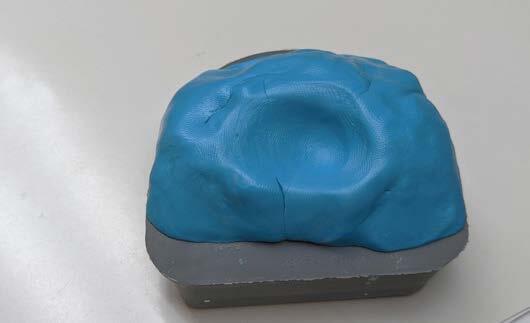
Wrap the putty around and over to engulf the prosthesis. Push the putty in to capture the intaglio of the prosthesis. Once set, remove the putty from the flask. |
 |
| 8. |
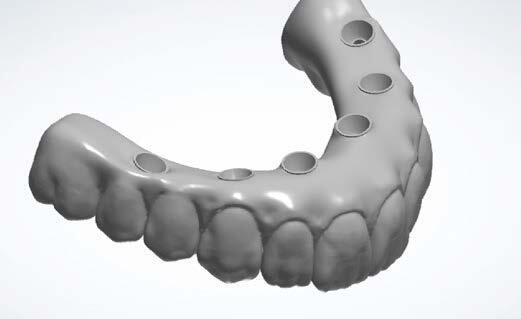
Ship the analog model, putty shell, and PVS impression(s) to ROE Dental Laboratory. Next, ROE will fabricate or provide in-office printing files for the Printed Try-In. The Printed Try-In is a 3D-printed prototype of the final prosthesis. See page 58 for more details. |
|
Additional Resources
For more information concerning Restorative Protocol's:
- Full Arch Solutions Product Page
- Ultimate Restorative Protocol Guide - Your Guide to ROE's Restorative Protocol
- More Restorative Protocol Guide Workflow's
Contact Information
For help with Restorative Protocol's for your next case, contact ROE Dental Laboratory:
- Phone: (216) 663-2233
- Email: info@roedentallab.com