
Overview
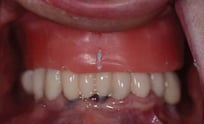
Bite rims establish vertical dimension and centric relation for complete prosthesis fabrication. Using both allows clinicians and lab techs to collaborate and deliver optimally fitted final dentures and prostheses.
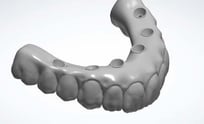
The goal of the Bite Rim/Verification Jig workflow is to capture records for a Printed Try-In.
Prerequisites
- Patient has implants, but very poor or no dentures
Technology & Materials
-
MUA impression posts
-
PVS impression material
-
Acrylic resin (e.g. Stellar, GC Pattern Resin)
Photographs
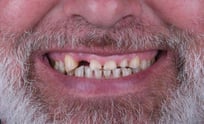
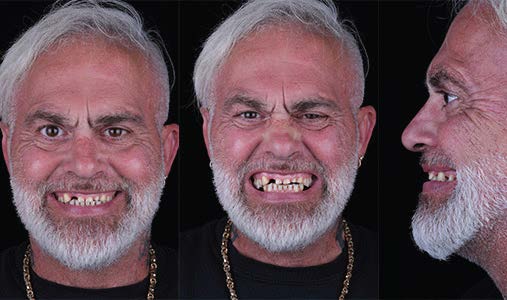
- Full-face full-smile
- Full-face exaggerated smile
- Optional: Full-face profile smile
Workflow Steps for using the Bite Rim/Verification Jig Workflow for a Printed Try-in
| Step | Instructions | Image |
|
1. |
Take the following photos with the patient standing up:
|
|
| 2. |
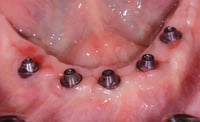
Seat the MUA impression posts passively onto each of the MUAs.
|
 |
| 3. |
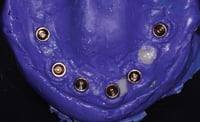
Capture an MUA-level PVS impression. Ship the PVS impression(s) to ROE Dental Laboratory. |
 |
| 4. |
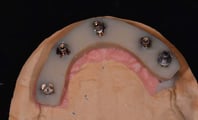
ROE fabricates a model, fit verification jig, and a screw-down bite rim. |
 |
| 5. |
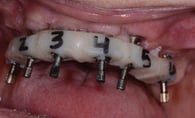
Seat the fit verification jig. Check for passivity using the 1-screw Sheffield test. Section where the implant sites are not passive. Lute the sections with acrylic resin into a passive position. |
|
| 6. |
Seat the screw-down bite rim. Perform a standard bite record protocol. |
 |
| 7. |
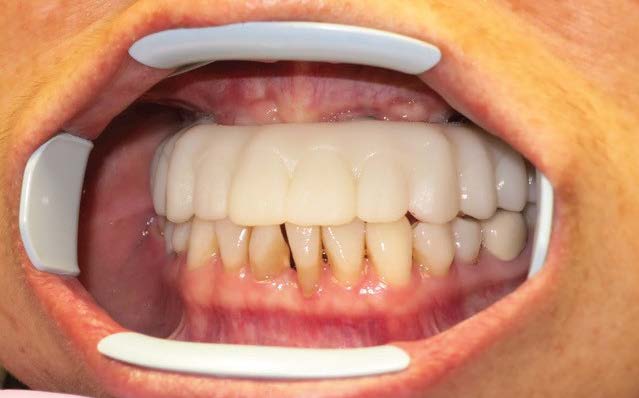
Capture patient smile photos showing midline and smile line. |
 |
| 8. |
Send the fit verification jig and screw-down bite rim back to ROE Dental Laboratory.
|
|
Additional Resources
For more information concerning Restorative Protocol's:
- Full Arch Solutions Product Page
- Ultimate Restorative Protocol Guide - Your Guide to ROE's Restorative Protocol
- More Restorative Protocol Guide Workflow's
Contact Information
For help with Restorative Protocol's for your next case, contact ROE Dental Laboratory:
- Phone: (216) 663-2233
- Email: info@roedentallab.com