
Overview
This workflow begins with an intraoral scan of the patient’s edentulous arches using an intraoral scanner. The digital scans are used to design and 3D print a custom bite block based on the patient’s arch form and vertical dimension of occlusion. At the next appointment, the custom bite block is tried in, allowing the doctor to confirm the occlusion, esthetics, and phonetics. Any necessary adjustments to the bite block are made, scanned, and sent to the lab for fabrication of the definitive dentures. This digital denture workflow eliminates the need for a separate appointment to take conventional impressions and saves time compared to a traditional workflow.
Technology & Materials
-
IOS scanner
-
Optional: PVS impression material
-
Optional: Blue or green mousse - for bites only
Workflow Steps for an Edentulous Patient - Digital Workflow
| Step | Instructions | Image |
| 1. |
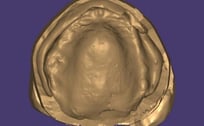
Scan the tissue with your IOS. Send the tissue scan file to ROE and order a custom bite block. It is important to capture all necessary anatomy to make a successful denture including: all fully extended peripheral borders, retromolar pads, tuberosities, hamular notches, and fovea palatinae. |
 |
| 2. |
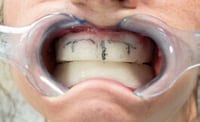
Try in the bite block. Confirm occlusion, esthetics, and phonetics. Add any necessary adjustments to the bite block. Heat the wax rim gently. Contour it to follow the patient’s arch form. Adjust height for proper lip support and occlusal plane. Smooth and refine the wax surface. |
 |
| 3. |
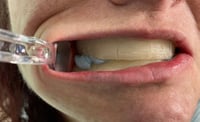
Apply adhesive to the intaglio surface of the bite block. Mix light-body impression material. Inject it onto the bite block surface. Seat in patient’s mouth. Have patient perform functional movements. Remove when set and evaluate.
|
 |
| 4. |
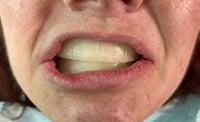
Take the following photos with both of the bite blocks seated and email to the lab:
|
 |
| 5. |
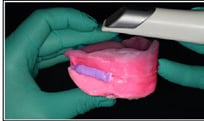
Capture the following IOS scans and ensure there are no holes or stitching errors with your scan:
|
 |
| 6. |
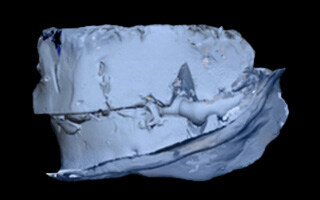
Upload your files and complete the Rx via www.roedentallab.com/upload. Follow the below protocol based on your record capture method of choice: IOS: Submit your scans via the IOS portal, OR export your .STLs and upload to the ROE portal. Physical: Send physical models and records to ROE. |
 |
| 7. |
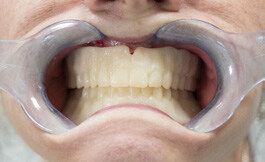
Optional: The doctor may choose to go to a printed try-in before seating the final. We only recommend using a printed try-in if:
|
 |
| 8. |
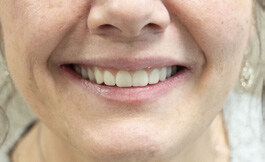
Seat the new denture. |
 |
Additional Resources
For more information concerning Removable Solutions:
- Removable Solutions Product Page
- Removable Solutions - Your Guide to ROE's Full & Partial Dentures
- More Removable Workflow's
Contact Information
For help with Removable Solution's for your next case, contact ROE Dental Laboratory:
- Phone: (216) 663-2233
- Email: info@roedentallab.com