
Overview
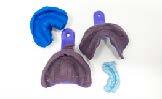
This workflow begins with the capture of conventional impressions of the patient’s edentulous arches. These initial records enable the fabrication of a custom tray. Upon receiving the custom tray back from the laboratory, the doctor takes a final impression, which the laboratory then uses to create a bite block. During the bite block try-in appointment, the doctor makes necessary adjustments and marks essential anatomical landmarks.
After returning the verified bite block to the laboratory, the doctor can choose between two pathways: either proceeding with a printed try-in denture for patient preview and additional refinements, or moving directly to final denture fabrication. This methodical approach ensures predictable outcomes and patient satisfaction.
Prerequisites
-
Denture must not have a soft reline or any soft flanges.
Technology & Materials
-
CBCT or IOS scanner
-
Optional: PVS impression material
-
Optional: Blue or green mousse - for bites only
Edentulous - Conventional Workflow
| Step | Instructions | Image |
| 1. |
Capture records for a custom tray, including:
|
 |
| 2. |
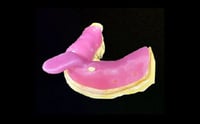
Receive the custom tray impression from ROE. Ensure the custom tray fits comfortably and extends to all necessary areas of the arch. Then, apply an appropriate impression material to the tray, seat it in the patient’s mouth, and have them perform functional movements to capture the borders accurately. Send to lab to fabricate bite rims. |
 |
| 3. |
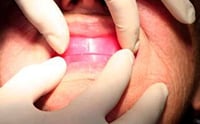
Place the bite block in the patient’s mouth. Adjust for tooth length, proper lip support, and midline. Mark the smile line and canine positions. Set vertical dimension using facial measurements. Heat the wax rim gently. Contour it to follow the patient’s arch form. Adjust height for proper lip support and occlusal plane. Smooth and refine the wax surface. |
 |
| 4. |
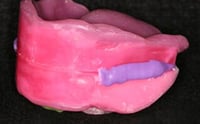
Seat in patient’s mouth. Have patient perform functional movements and end in the final bite position. If the bite block doesn’t fit, perform a PVS reline and seat against the tissue. |
 |
| 5. |
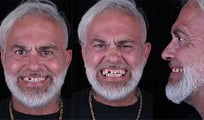
Take the following photos with the patient standing up:
|
 |
| 6. |
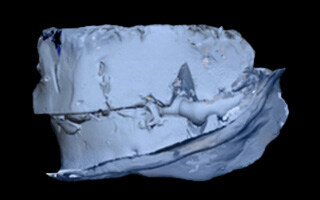
Ship the bite blocks to ROE. Optionally, you may instead capture a 360° extraoral scan of the bite blocks with a CBCT or IOS scanner (see “Edentulous Patient - Digital Workflow”). |
 |
| 7. |
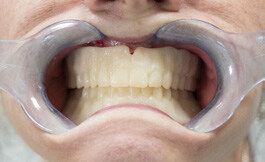
The doctor may choose to go to a printed or wax try-in before seating the final. |
 |
| 8. |
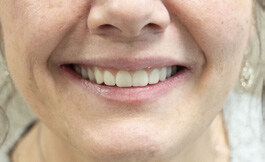
Seat the new denture. |
 |
Additional Resources
For more information concerning Removable Solutions:
- Removable Solutions Product Page
- Removable Solutions - Your Guide to ROE's Full & Partial Dentures
- More Removable Workflow's
Contact Information
For help with Removable Solution's for your next case, contact ROE Dental Laboratory:
- Phone: (216) 663-2233
- Email: info@roedentallab.com