
Overview
Acrylic partial dentures offer a budget-friendly solution that can be easily modified and repaired. While not as sturdy as other materials, they are lightweight and can work well as a temporary solution or can work for those who need a flexible treatment option. These dentures can be adjusted easily and are typically more comfortable at first, although, they may need more frequent maintenance over time.
With all-acrylic and unilateral (Nesbit) partial dentures, simply capture records and seat at the next appointment.
Technology & Materials
-
Optional: IOS scanner
-
Optional: PVS impression material
-
Pressure indicating paste
- Denture polishing and finishing tools
Workflow Steps for for All-Acrylic Partial
| Step | Instructions | Image |
| 1. |
Take the following photos with the patient standing up:
|
 |
| 2. |
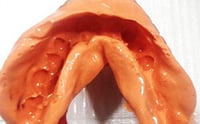
Optional: If the patient has an existing prosthesis, seat before capturing records. Capture records including:
|
 |
| 3. |
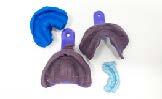
Send your records to ROE and complete the Rx via www.roedentallab.com/upload. If using an IOS, submit your scans via the IOS portal, OR export your .STLs and upload to the ROE portal. |
 |
| 4. |
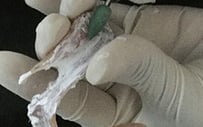
Use pressure indicating paste to determine pressure areas. Make adjustments as necessary, finish, and polish. |
 |
| 5. |
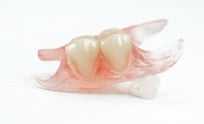
Seat the new final partial denture.
|
 |
Additional Resources
For more information concerning Removable Solutions:
- Removable Solutions Product Page
- Removable Solutions - Your Guide to ROE's Full & Partial Dentures
- More Removable Workflow's
Contact Information
For help with Removable Solution's for your next case, contact ROE Dental Laboratory:
- Phone: (216) 663-2233
- Email: info@roedentallab.com