
Workflow Steps for Restorative Workflow
| Step | Instructions | Image |
| 1. |
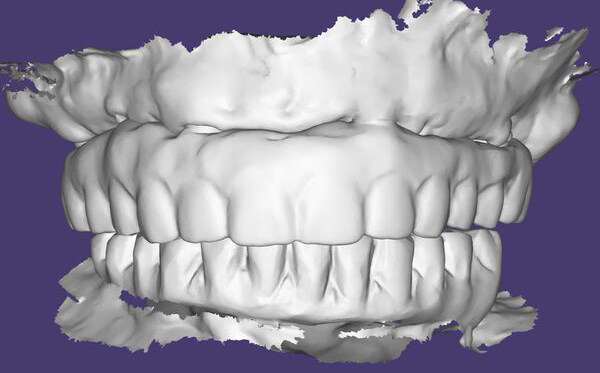
Prior to removing the prosthesis, capture IOS scans of the upper arch, lower arch, and bite. Be careful to include tissue landmarks.
|
|
| 2. |
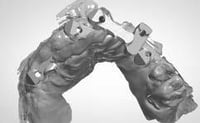
Remove the prosthesis. Capture a scan of the tissue and multi-unit abutments, preferably with MUA healing caps on. |
 |
| 3. |
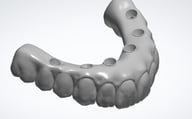
Capture a 360° scan of the prosthesis. We recommend holding the prosthesis in hand while scanning until the full surface is captured. Capturing this extraoral scan prior to the intraoral scan typically enables better scan stacking and bite capture. |
 |
| 4. |
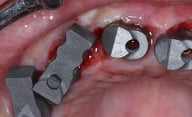
Place one ArchBridge™ scan body on each MUA. Rotate until they are almost touching, for ease of scanability. Hand tighten each ArchBridge™. |
 |
| 5. |
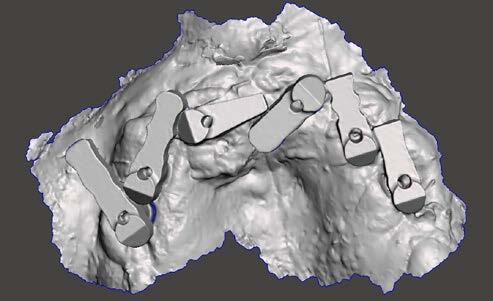
Capture an IOS scan of the ArchBridge™ scan bodies, excluding surrounding surfaces. |
 |
| 6. |
Go to the ROE portal, www.roedentallab.com/grammetry, and upload patient photographs, completed Rx, and the following .STL files.
|
 |
| 7. |
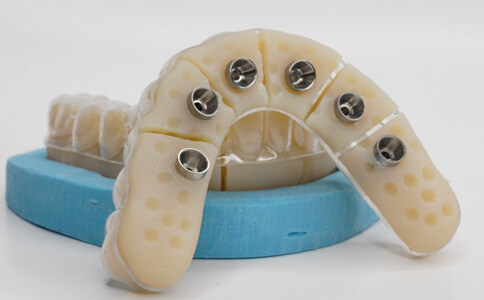
Follow one of the two following methods to go to the final zirconia:
|
 |
Additional Resources
For more information concerning Grammetry ArchBridge Solutions:
- Full Arch Solutions Page
- Download Your Free Grammetry ArchBridge Guide Now
- More Grammetry ArchBridge Workflow's
Contact Information
For help with Grammetry ArchBridge Solution's for your next case, contact ROE Dental Laboratory:
- Phone: (216) 663-2233
- Email: info@roedentallab.com