
Workflow Steps for the iJIG Workflow
| Step | Instructions | Image |
| Note: The iJIG workflow is an optional method of going to final following the ArchBridgeTM restorative workflow, The iJIG is to verify passivity prior to going to final zirconia. | ||
| 1. |
Doctor receives iJIG from the lab.
|
|
| 2. |
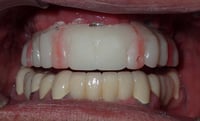
Screw down each section using the clear, suckdown transfer holder. Ensure all sections are fully seated and passive, and not touching each other. Capture an x-ray to confirm. Adjust for passivity if needed. |
 |
| 3. |
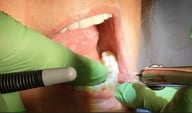
Lute all sections with acrylic resin (e.g. Stellar, Voco, etc.) and cure.
|
 |
| 4. |
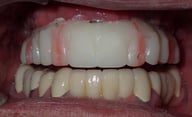
Equilibrate. Check VDO for speech issues. Capture the following impressions:
|
 |
| 5. |
Take the following photos with the patient standing up:
|
 |
| 6. |
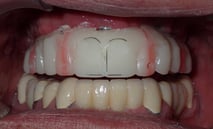
Make marks on the iJIG where esthetic changes are to be made. Add composite to simulate esthetics and adjust. |
 |
| 7. |
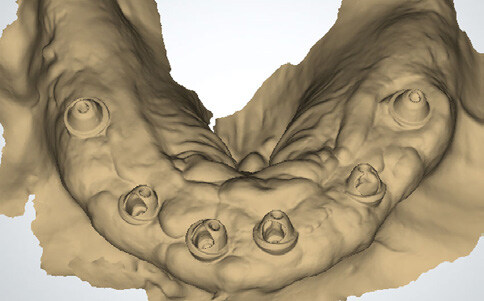
Unscrew the iJIG and scan the tissue. |
 |
| 8. |
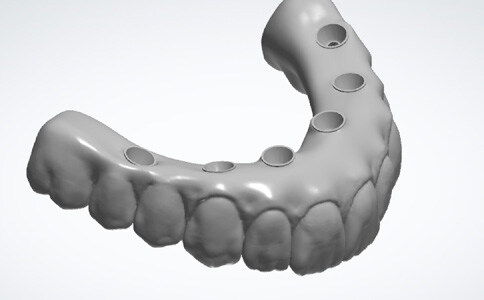
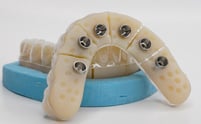
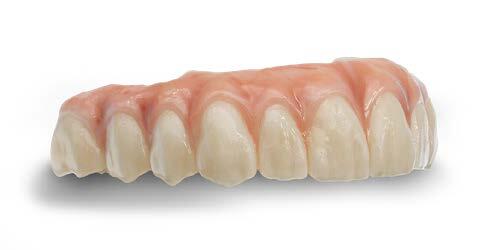
Upload all digital records to ROE's online portal and ship the iJIG to ROE. After shipping the luted iJIG, and sending the updated digital scans, the doctor can order the final zirconia. |
|
Additional Resources
For more information concerning Grammetry ArchBridge Solutions:
- Full Arch Solutions Page
- Download Your Free Grammetry ArchBridge Guide Now
- More Grammetry ArchBridge Workflow's
Contact Information
For help with Grammetry ArchBridge Solution's for your next case, contact ROE Dental Laboratory:
- Phone: (216) 663-2233
- Email: info@roedentallab.com