
Workflow Steps for Immediate Denture / Patient Has Existing Dentures
| Step | Instructions | Image |
| 1. |
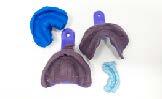
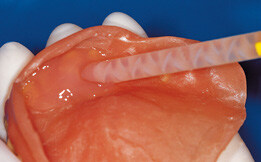
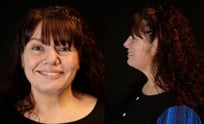
Capture Records For immediate dentures: Capture upper and lower physical records impressions with PVS or digitally with an IOS system as well as a bite registration. If patient has existing denture: Capture 360° digital scan of a relined denture using an IOS scanner or a desktop scanner. If a digital capture system is not available send the denture to the laboratory for scanning if possible or take an impression of the denture using a flasking technique. Capture patient photos with the patient standing up: Full-face full-smile, full-face exaggerated smile, and optionally, full-face profile smile. Including patient photos improves the accuracy of a setup by 35%! |
|
| 2. |
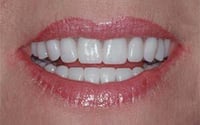
Seat Denture: The accuracy of CAD/CAM manufacturing makes for an extremely predictable fit during the seating appointment. |
 |
|
Optional Try-In Denture: Regardless of workflow, the doctor may request a try-in denture prior to seating the final. If new impressions are needed, capture a bite and re-evaluate fit. Optional Reverse Reset: ROE designed its digital denture process to eliminate setup appointments. If you encounter an issue with the final denture, make adjustments, use a sharpie, and capture a photo or two. We’ll then perform a ‘reverse reset’, fabricate a new denture, and send it for a fraction of the overall cost of a traditional denture and reset. |
||
Additional Resources
For more information concerning ArchBridge Overdenture Solutions:
Contact Information
For help with ArchBridge Overdenture Solution's for your next case, contact ROE Dental Laboratory:
- Phone: (216) 663-2233
- Email: info@roedentallab.com