
Overview
Maximum preparation veneers are designed to accommodate more substantial changes to a patient’s smile. This preparation style is necessary when a color shift of more than three shades is desired or when significant corrections to tooth alignment are required. Maximum prep veneers are commonly used for patients who wish to address misaligned teeth without undergoing orthodontic treatment.
The more aggressive nature of the maximum prep design allows for adequate space to mask the underlying tooth color, enabling color shifts of three or more shades. Additionally, this preparation style creates a definitive margin, ensuring an excellent fit and ease of insertion. However, the more aggressive preparation results in little to no remaining enamel, which can lead to reduced bond strength. Furthermore, some patients may be hesitant to proceed with this more invasive preparation design.
Technology & Materials
-
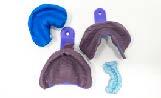
IOS scanner or PVS impression material
-
Stock impression tray
-
Adjustment burs/drills
-
Bonding agents
-
Resin-based cement of choice
-
Optional: Reduction guide
Workflow Steps for Conventional Prep Veneers
| Step | Instructions | Image |
| 1. |
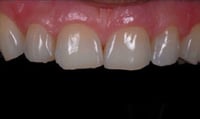
Begin with an in-depth patient consultation to discuss goals, expectations, and desired changes in tooth color and contour. It’s important to manage patient expectations, contrasting real procedures with quick TV makeovers, emphasizing the importance of doing things the right way rather than the quick way. |
 |
| 2. |
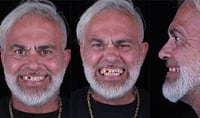
Take the following photos with the patient standing up:
|
 |
| 3. |
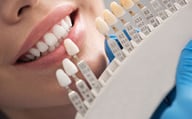
Select appropriate veneer material and determine final shade specifications. Capture color photographs with shade tabs and include stump shade references for best results. |
 |
|
Important: Stump shades are critical for proper veneer fabrication, as any discrepancy between the stump shade and desired veneer shade can cause inaccurate shade matching. |
||
| 4. |
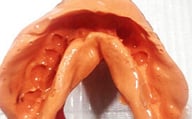
Capture upper and lower impressions and bite. You may either:
|
 |
| 5. |
Send your records to ROE and complete the Rx via www.roedentallab.com/upload. If using IOS, you may submit your scans via the IOS portal, OR export your .STLs and upload to the ROE portal. |
|
| 6. |
Create and present a diagnostic proposal based on collected records, producing a physical printed model that demonstrates the final contour and anticipated results for patient approval. |
|
| 7. | Optional: You may utilize a reduction guide for precise preparation, ensuring optimal thickness and fit for the final restorations. | 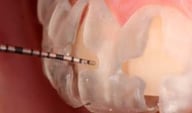
|
| 8. |
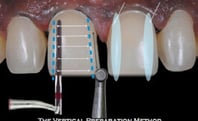
Prep the veneers to the recommended specifications below:
|
 |
| 9. |
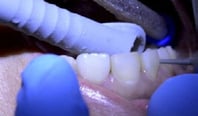
Clean the prepped teeth using a proxy paste. |
|
| 10. |
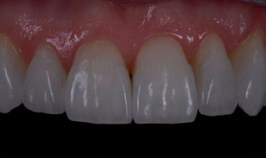
Proceed with temporization to allow patients to evaluate phonetics and function, making any necessary adjustments based on their feedback. Ensure the veneers have a passive fit. |
 |
|
Important: Pay special attention to lower veneers during the temporary phase, carefully assessing interference and wear patterns while making adjustments based on patient feedback regarding bite comfort and smile esthetics. |
||
| 11. |
Optional: If significant changes occur from the initial diagnostic stage, take new scans or impressions to ensure accurate final results and documenting with additional photographs as needed. Obtain final approval from both doctor and patient regarding function and esthetics before proceeding with permanent veneer placement. |
 |
| 12. |
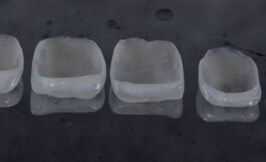
Etch the prepared teeth and prepare the veneers for cementation using a hydrofluoric acid etch and silane coupling agent. Apply bonding agent to the etched prepared teeth, but do not cure. |
 |
| 13. |
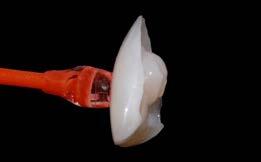
Cement the final veneers to the prepared teeth using your choice of resin. Cure according to the manufacturer’s recommendations. |
 |
| 14. |
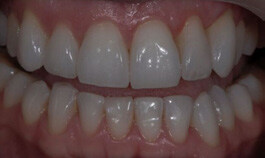
Clean off excess cement and polish to completion. |
 |
Additional Resources
For more information concerning Crown & Bridge Solutions:
- Fixed Restorations Product Page
- Crown & Bridge Solutions - Your Guide to ROE's Fixed Restorations
- More Crown & Bridge Workflow's
Contact Information
For help with Crown & Bridge Solution's for your next case, contact ROE Dental Laboratory:
- Phone: (216) 663-2233
- Email: info@roedentallab.com