
Workflow Steps for Existing Overdenture: Replace or Convert to LOCATOR FIXED
| Step | Instructions | Image |
| 1. |
Prior to removing the denture, capture IOS scans of the upper arch, lower arch, bite, and surrounding tissue if possible. |
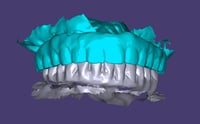 |
| 2. |
Remove the existing prosthesis and capture a scan of the tissue and abutments. Be sure to include all tissue landmarks and vestibule. |
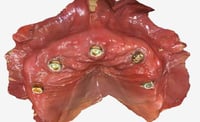 |
| 3. | Place a white LOCATOR Processing Spacer into each ArchBridge for Overdenture Scan Body, ensuring it is fully seated and flush with the base of the scan body. | 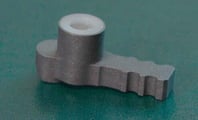 |
| 4. |
Seat one scan body onto each abutment. Rotate towards the center of the jaw, facing inwards, for best scan results. Important: Make sure the scan bodies are not touching each other and are fully seated. |
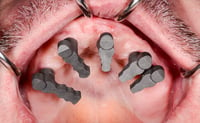
|
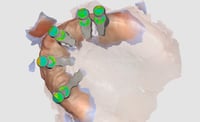
| 5. |
Capture an IOS scan of the scan bodies.
|
 |
| 6. |
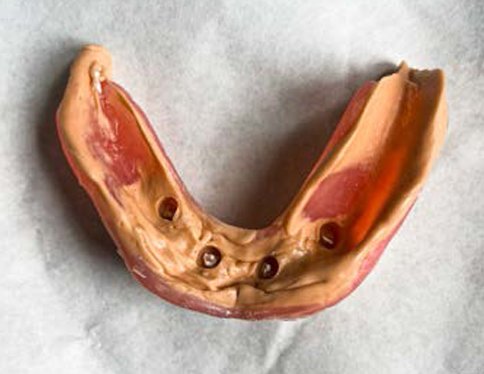
Using medium body PVS, perform a wash capturing the tissue detail and abutment positions. Seat the denture in occlusion. Once the PVS is set, remove the denture. |
 |
| 7. |
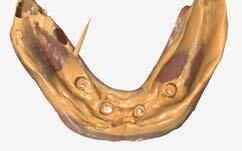
Capture 360° extraoral scan of the washed denture with the IOS.
|
 |
| 8. |
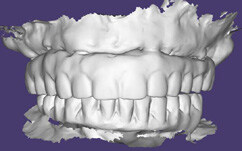
Go to the ROE portal, www.roedentallab.com/grammetry, and upload patient photographs, completed Rx, and the following .STL files.
|
 |
Additional Resources
For more information concerning ArchBridge Overdenture Solutions:
- Full-Arch Product Page
- ArchBridge for Overdenture - Your Guide to ROE's Digital Overdenture Solution
- More Overdenture Workflow's
Contact Information
For help with ArchBridge Overdenture Solution's for your next case, contact ROE Dental Laboratory:
- Phone: (216) 663-2233
- Email: info@roedentallab.com