
Workflow Steps for Converting Healing Denture to LOCATOR FIXED or Overdenture
| Step | Instructions | Image |
| 1. |
Prior to removing the denture, capture IOS scans of the bite and surrounding tissue if possible. |
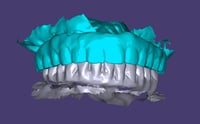 |
| 2. |
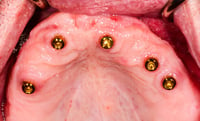
Select the ideal overdenture abutments based on the healed tissue and seat onto each implant.
|
 |
| 3. | Capture a scan of the tissue and abutments. Be sure to include all tissue landmarks and vestibule. | 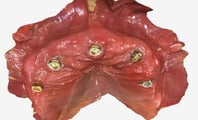 |
| 4. |
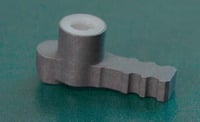
Place a white LOCATOR Processing Spacer into each ArchBridge for Overdenture Scan Body, ensuring it is fully seated and flush with the base of the scan body. |
|
| 5. |
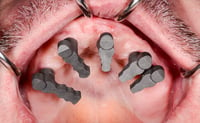
Seat one scan body onto each abutment. Rotate towards the center of the jaw, facing inwards, for the best scan results. Important: Make sure the scan bodies are not touching each other and are fully seated. |
 |
| 6. |
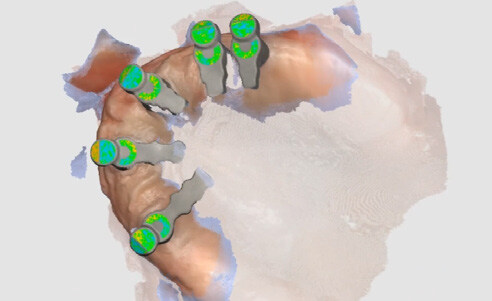
Capture an IOS scan of the scan bodies. Important: Be sure to clearly capture the complete round head of the scan body where it is attached to the abutment. |
 |
| 7. |
Try in the denture and ensure a passive seat over the newly placed abutments. Relieve the denture where necessary to achieve a full seat. Once full seat is verified, remove the denture. |
Additional Resources
For more information concerning ArchBridge Overdenture Solutions:
- Full-Arch Product Page
- ArchBridge for Overdenture - Your Guide to ROE's Digital Overdenture Solution
- More ArchBridge Overdenture Workflow's
Contact Information
For help with ArchBridge Overdenture Solution's for your next case, contact ROE Dental Laboratory:
- Phone: (216) 663-2233
- Email: info@roedentallab.com