
Overview
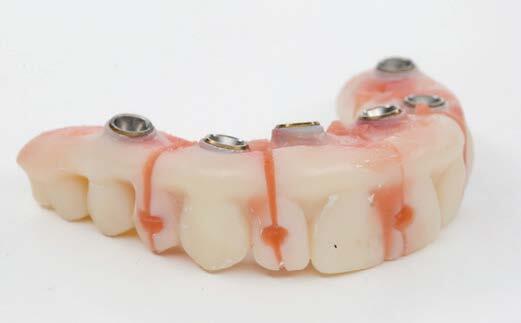
The patent pending iJIG is a sectioned fit verification jig that also functions as a prototype of the final. The iJIG:
-
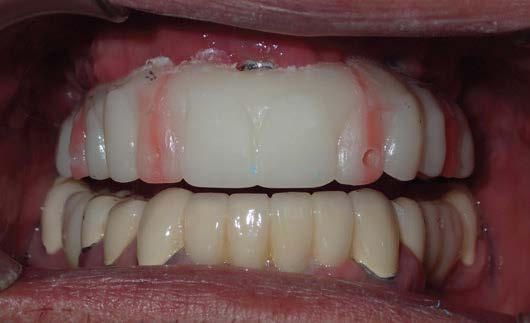
Verifies fit: The iJIG is luted in sections in the mouth to achieve the best fit in real-time.
-
Helps plan for the final: In the same visit, the iJIG captures records including bite registration, tissue contours, and occlusal relationships.
The goal of the iJIG workflow is to capture records for a Printed Try-In.
Prerequisites
- Patient must have existing prosthesis fixed on MUAs
Technology & Materials
If creating the Master Cast (steps 6-7):
-
Intraoral scanner
-
Scan analogs
-
Denture flask/cup/container for stone
-
Casting stone
If NOT creating the Master Cast (steps 9-16):
-
Intraoral scanner
-
Scan analogs
- Acrylic resin (e.g. Stellar)
- Tray adhesive
- PVS impression material
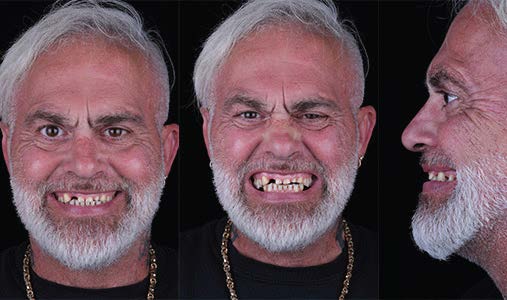
Photographs
- Full-face full-smile
- Full-face exaggerated smile
- Optional: Full-face profile smile
Workflow Steps for using the iJIG workflow for a Printed Try-in
| Step | Instructions | Image |
| 1. |
Take the following photos with the patient standing up:
|
 |
| 2. | Remove the patient’s prosthesis. Seat scan analogs passively onto the intaglio side of each of the temporary cylinders of the prosthesis. | 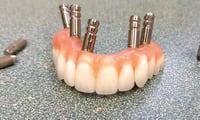 |
| 3. | Scan the tissue and MUAs with your IOS. No scan bodies or healing collars should be seated on the MUAs. | 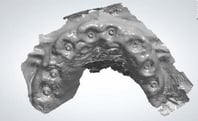 |
| 4. |
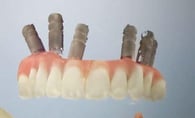
Capture a 360° extraoral scan of the prosthesis with the IOS. Be sure to capture each scan analog and verify that there are no missed holes in the scan.
|
|
| 5. |
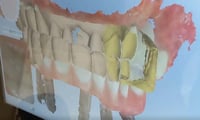
Reseat. Capture the following IOS scans:
|
 |
|
Creating the Master Cast - optional, but recommended: The doctor may choose to create a Master Cast of the loaded prosthesis. The benefit of creating the Master Cast is that the doctor can skip an additional appointment (see steps 9-16) and go straight to the Printed Try-In. To create a Master Cast, follow steps 6-7. If you are not creating a Master Cast, go directly to step 8. |
||
|
6. |
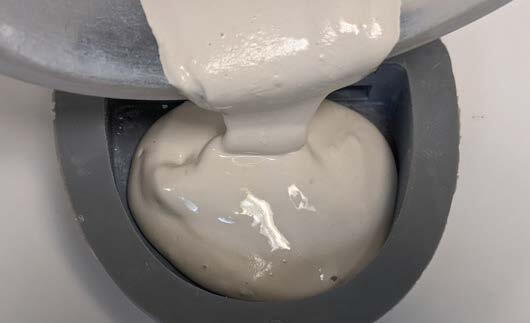
Acquire a flask, denture cup, or any container that can hold casting stone. Mix and pour casting stone into the flask. |
|
|
7. |
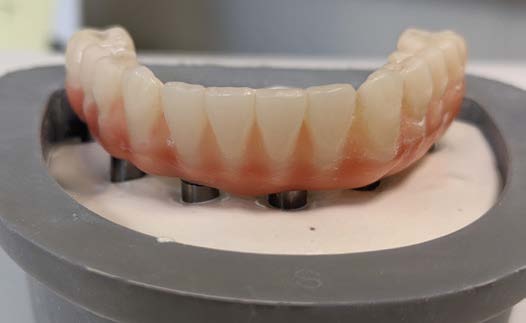
Set the prosthesis down in the stone. Ensure it is filled to the length of the analogs. It is important to ensure that the intaglio of the prosthesis is sitting a little bit above, not touching, the stone. Let the stone set up and become completely hard. |
|
|
8. |
Send all records to ROE Dental Laboratory. If a Master Cast was created in steps 6-7, ROE will fabricate or provide in-office printing files for Printed Try-In. The Printed Try-In is a 3D-printed prototype of the final prosthesis. See page 58 for more details. If a Master Cast was NOT created in steps 6-7, follow steps 9-16. |
|
| iJIG to Printed Try-In: Follow steps 9-16 if a Master Cast was NOT created in steps 6-7. | ||
|
9. |
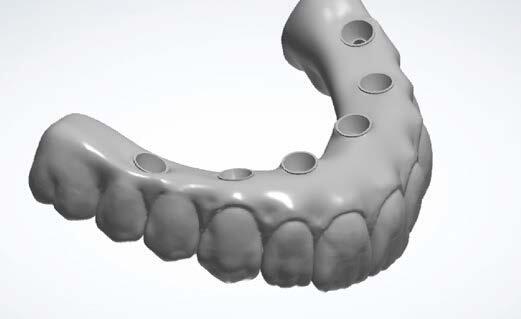
ROE fabricates and ships the iJIG. |
|
|
10. |
Add tray adhesive to the tissue side of each section of the iJIG. Screw down each section using the clear, suckdown transfer holder. Ensure all sections are fully seated and passive, and not touching each other. Capture an x-ray to confirm. Adjust for passivity if needed. |
|
|
11. |
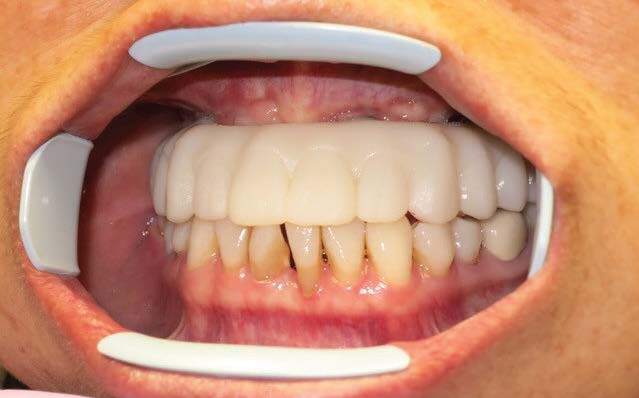
Lute all sections with acrylic resin (e.g. Stellar, GC Pattern Resin, etc.) and cure. |
|
|
12. |
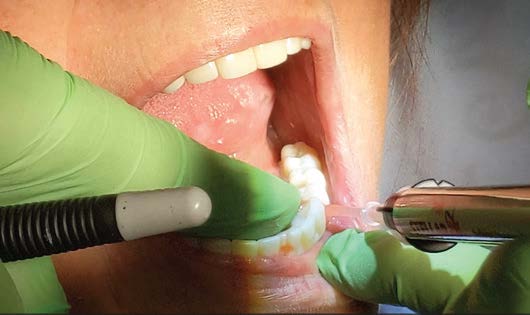
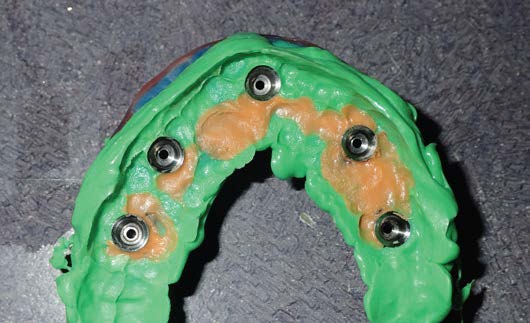
Equilibrate. Check VDO for speech issues. Capture the following PVS impressions:
|
|
|
13. |
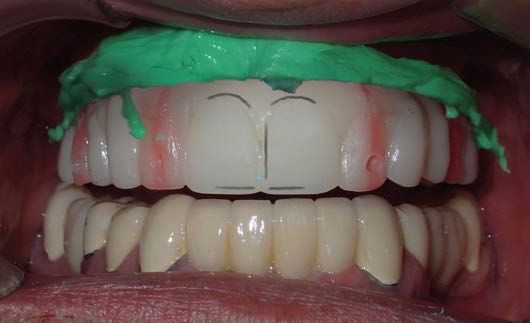
Take the following photos with the patient standing up:
|
|
|
14. |
Make marks on the iJIG where esthetic changes are to be made. Add composite to simulate esthetics and adjust. |
|
|
15. |
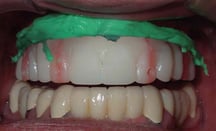
Flow medium or heavy body PVS between the iJIG and the tissue. |
|
|
16. |
Send all records to ROE Dental Laboratory. Next, ROE will fabricate or provide in-office printing files for the Printed Try-In. The Printed Try-In is a 3D-printed prototype of the final prosthesis. See page 58 for more details. If patient and doctor are comfortable with the iJIG as the final prototype, you may choose to skip the Printed Try-In and order the final zirconia. |
|
Additional Resources
For more information concerning Restorative Protocol's:
- Full Arch Solutions Product Page
- Ultimate Restorative Protocol Guide - Your Guide to ROE's Restorative Protocol
- More Restorative Protocol Guide Workflow's
Contact Information
For help with Restorative Protocol's for your next case, contact ROE Dental Laboratory:
- Phone: (216) 663-2233
- Email: info@roedentallab.com